It’s really easy to learn how to make a personalized name pillow.
This DIY personalized name pillow makes a great gift that can be made any time of the year.
You can make them for Christmas, birthday, Mother’s Day or any reason!
You may even want one for yourself!
This pillow can be made with a zipper, or even faster without one.
I have tutorials for both.
Click on this link for how to make pillows fast without a zipper.
Or, click on this tutorial that explains how to sew a zipper into a pillow the easiest way ever!
I’m thinking a mom or grandmother would love this!
It’s a pillow cover with the names of the children in the family.
It could also be made for someone with pets! Wouldn’t it be cute with your pets names on them?
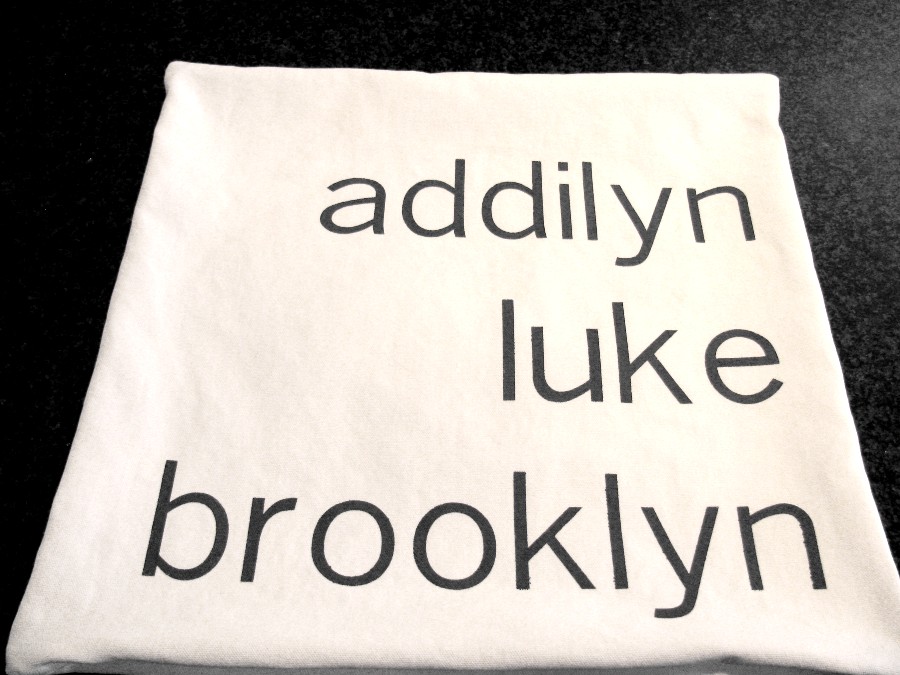
This one is made using a stencil and paint:
As you can imagine, they can be made with any manner of fabrics, colors and paint.
This one is made of white canvas material and the paint is Americana brand from Hobby Lobby in a dark grey. You can also get this type of paint at Walmart or many other craft stores like JoAnn Fabrics.
For your pillow, first figure out what size you’d like to make it.
I might suggest you buy a pillow form in the size you’d like first.
The pillow form for this pillow measures 16″ x 16″ square.
When making a pillow, as suggested in my post on how to put a zipper into a pillow, the easiest way ever, you’ll want to cut your fabric the same size, or smaller, than the measurements of the pillow form you are using.
I like to make the pillow covers slightly smaller than the pillow forms so that they fit a little snug inside the pillow.
I cut 2 pieces of canvas 16″ x 16″. I use a 1/2″ seam allowance, so my pillow should measure 15″ square after I sew in the seams.
I also like to make these pillows with a Zipper. To follow this method, here is a post on How To Sew A Zipper In A Pillow The Easiest Way Ever. I used a 16″ zipper for my pillow.
I made a stencil of the children’s names using a Cricut Maker machine. There are similar brand name machines like the Silouette. If you don’t own one of these machines, borrow one from a friend or have them design the stencil for you. Or you can make the names from an alphabet stencil that you find at your favorite craft store or online.
Another cute way of designing your own personalized name pillow is by using a stamping kit, also found at Hobby Lobby or JoAnn Fabrics.
Choose a font from your computer, the internet or your Cricut. I like to go to DaFont.com for free fonts and download them on my computer.
If you don’t want to go to that much trouble, just use a font directly from your desktop or laptop.
On my computer, I personally like the font named “Arial”.
I like to use the vinyl paper called Oracal 651. You can also use Contact paper, but I don’t find it as easy to peel off as the Oracal 651. I’ve tried several papers and this one seems to be the best for all my projects. You can buy it in a large roll if you have lots of projects like this planned. It is more economical that way.
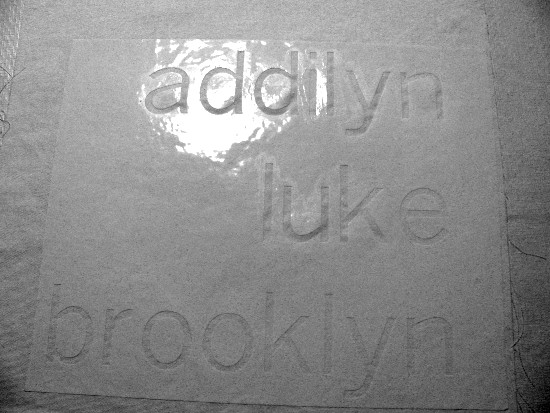
Once you have the stencil made, you will pick the letters off the stencil, as seen in the photo below.
But before you take off the backing from the vinyl, cover the front of the vinyl with clear mailing tape to hold all the letters in place so that you can peel off the backing easily.
Next, pull off the back paper to your Oracal (or contact paper or whatever paper you are using) and stick the stencil to your fabric, being careful to place it exactly where you want it. When I pull off the paper backing, I like to pull it at a 45 degree angle. That way, the stencil comes off easily. Go slowly and make sure that you don’t tear or lose any parts of your letters in the process.
Once the stencil is stuck on the fabric, “paint” a layer of Mod Podge to seal in the edges of each letter as best you can. This is a great trick to seal in the stencil so that no paint oozes underneath the stencil when you go to paint the letters on.
Let the Mod Podge dry.
Once the Mod Podge is dry, paint each letter with a small paintbrush. Be careful not to get too much paint on the brush at one time. I dab most of it off on a paper towel before I put it on the fabric. It’s better to paint in thin layers than get too much paint on and cause the fabric to bubble up.
Experiment on some scrap fabric first to get the hang of it.
Let the paint dry completely and then start peeling off the stencil. Again, peel it off slowly and gently to make sure your letters look clear and sharp.
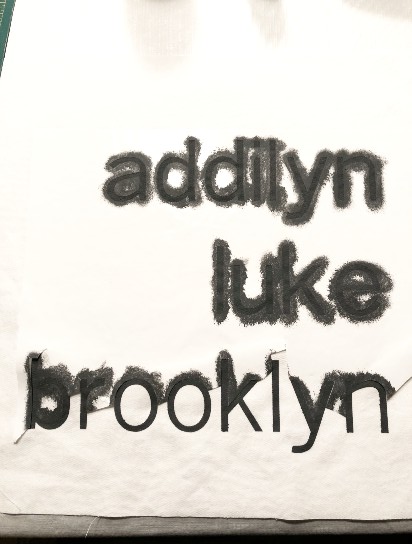
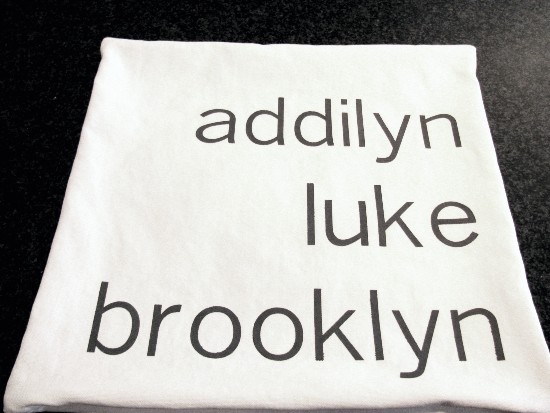
This is what it looks like with the entire stencil off:

Now, once you have the stenciled letters done, follow my post on How To Put a Zipper In A Pillow and then come back and see my final product. Or make a pillow without a zipper!
This is what the finished pillow looks like. Put your pillow insert inside and poke the pillow insert until the corners are filled with the corners of the insert. It only takes a minute to get it right, but it makes the pillow look nice and fluffy. My favorite pillow inserts have down in them. They usually are a little more expensive than the polyester fiberfill inserts, but they give your pillows a nice professional look. Find down inserts online.
Now, it’s ready to gift or use, if it is for your home!
I hope this inspires you to make a personalized name pillow for someone you love!!
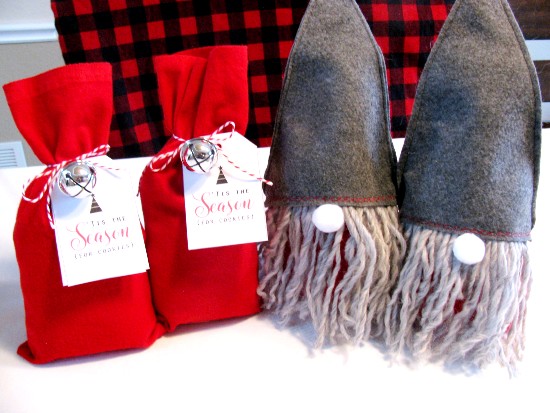
If you’d like another quick Christmas idea. This gnome bag and easy gift bag are great for neighbors, coworkers, hostess gifts and friends!