Each season, my pillow covers take a beating in the hot sun, so I need to replace them, even though they are covered by our porch! Do you have the same issue? It seems like you have to buy new pillows every year, right? Or maybe yours don’t fade, but you want to be able to switch out your pillows every season so that they reflect the weather, whether indoors or out.
So, I thought I’d take you along and show you how to make an easy one piece pillow cover without a zipper.
If you’d like to make a very fast pillow that has a pieced front to it, check out this post entitled, How to Make Pillows Fast!
Or, maybe you would like to make pillows with a zipper. Check out this post entitled, How to Sew a Zipper Into a Pillow, the Easiest Way Ever!
But if you’re here for the one piece pillow cover, that is super fast to make, here we go!
To figure out how much fabric you need for your pillow, first have a pillow insert ready to go in whatever size you want. The one I am covering happens to be 20 inches.
You can purchase pillow inserts from Hobby Lobby, JoAnn Fabrics, or even Ikea. You may even have a locally owned store that carries them.
When you’re in the store, just wrap the fabric around a pillow insert (whether it’s one you already own or one you are using temporarily from the store) to figure out how much fabric you need. I just needed 2/3 of a yard (24″ long). I was able to use the width of the fabric (45″ in this case) for the entire one piece pillow. If your fabric is a one way print, you may want to purchase more.

Once you have the fabric purchased, this pillow cover should only take about 20 minutes at the most!
Read through all the instructions before you begin. You might think that the post is so long, that it will take you longer, but I’m mostly spelling things out in minute detail so you understand the process better. Once you make one of these, the next one will go so much faster!
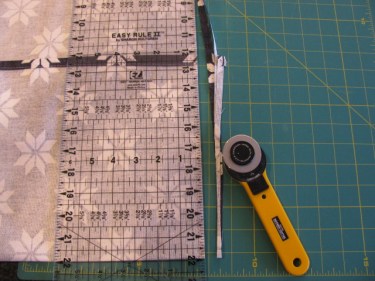
I like to use a rotary cutter and mat for cutting fabric, but you can use a pair of scissors just as easily.
To get started, trim your fabric down to the desired size. I like to cut my fabric the exact amount needed, for the width of the pillow, minus 1-2″. That is because you want the pillow to look stuffed, not fitting loose.

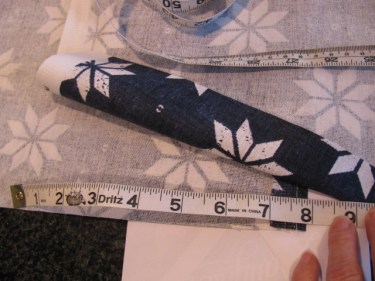
To determine the long length of the fabric that will wrap around the pillow, I unfold the fabric and wrap it around the 20 inch insert so that it overlaps like this:
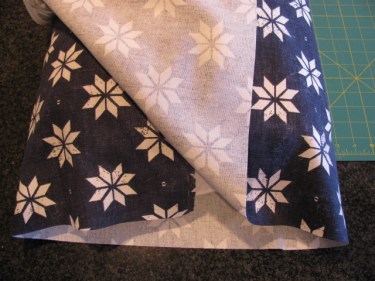
You’re going to start with the 20″ and add an amount to make an overlap, but not a huge one. you just want it to cover the insert when it is made so none of the insert pokes out. With a pillow this size, I would add 6 inches. With a small pillow, like a 12″ pillow, I’d add 4 ” to the total. So, for this pillow, I will cut the length at 26″ long.
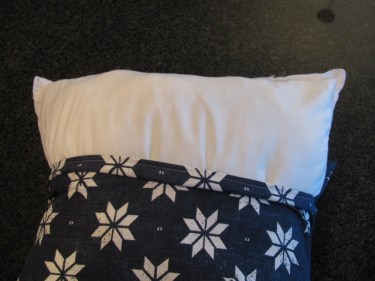
Fold under 1/2″ and stitch it across one of the 20″ sides of the fabric. Lay the piece down on the insert with the right side of the fabric against the pillow insert.
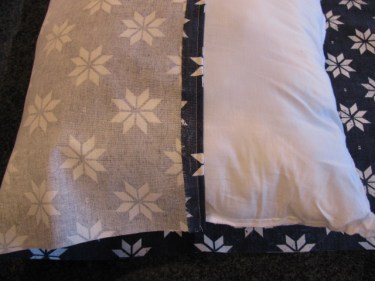
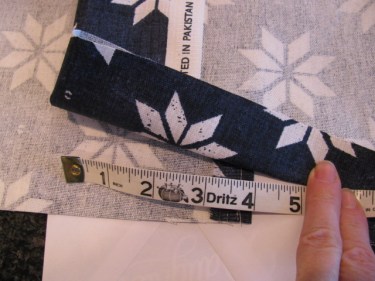
Now, wrap the second side over the first as shown in the photo below:

Measure the overlap as shown below:
Pin those edges together and pull the insert out and lay the cover flat on your work surface.
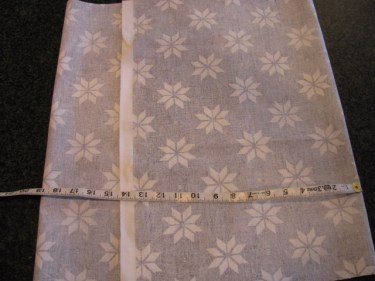
Now measure across and in this case, it should be 19″. If it’s not the measurement you want for the height of the pillow, just adjust until you have a nice amount of overlap.
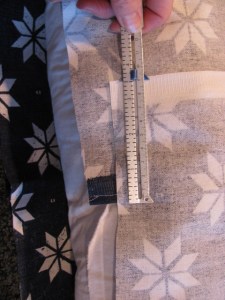
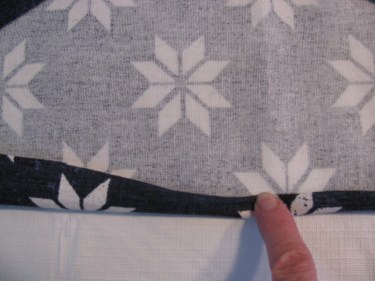
After adjusting the overlap, measure the distance between the two edges. You may have to fold back one edge to get this measurement:
Do you see how it is 8″ in the photo below?
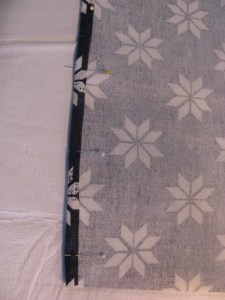
Now fold under the raw edge (or if it has a selvage, you won’t need to do anything).
Can you see (in the photo below) that the width of the pillow is 1 inch more than the height of the pillow? The height was 19″ and this is 20″. That’s because we are going to have 1/2″ seam allowances on the seams that will be the width of the pillow. (The top and bottom of the pillow have folds, so they won’t have seams, so 19″ in this case is correct.)

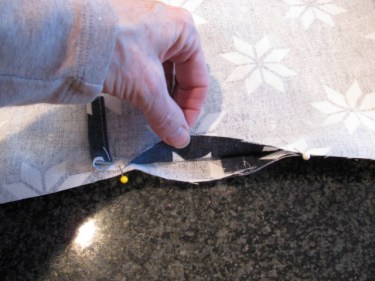
You’re going to fold back that raw edge that runs the width of the cover and remeasure that overlap. Fold back that top edge until you have a 4″ overlap. That should be plenty of overlap to keep the pillow insert from poking out when you put the insert in the pillow cover.
Once you have the overlap correct, trim off the excess from the top folded back piece. Cut 1″ from the fold because you are going to turn that under and stitch.

Once you’ve trimmed that off, just turn the edge up 1/4″ and then another 1/4″ and press it with an iron.
Once you have it pressed, stitch it down. Pin it if you need to before you stitch:
Stitch. Then, remeasure the pillow cover from fold line to fold line and adjust until you reach 19″ across:

If the edges are uneven, trim them to make the measurement:
Make sure you have that 4″ overlap again:
Pin those overlap edges in place and then pin the entire raw edge on both sides of the pillow cover as shown below:
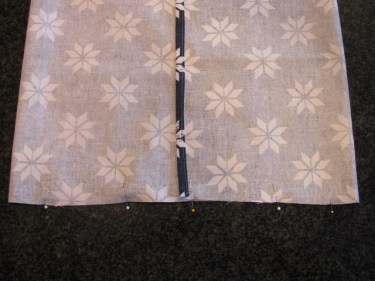
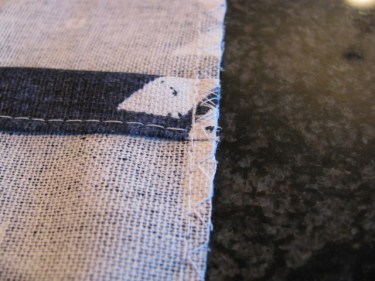
Stitch those side seams with a 1/2″ seam. You can trim it down to 1/4″ if you like. Then, zig zag the edges to keep them from fraying. If you have a serger, this would be a good time to use it on the edges. I don’t like the use the serger to stitch seams because it’s not as durable as stitching the seam and then serging the edge.
Now, you are ready to turn the pillow cover right side out. Just reach your hand inside and pull it all to the outside. lace pillow insert inside the pillow cover:
Once half of the insert is inside, then pull the other half over and this is what the back should look like. It’s a little pudgy, but that’s what you want.
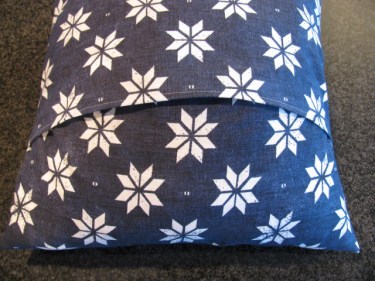
Flip it over and this is the front:

Now, just repeat all the steps with any coordinating fabrics you have:
Place them on your porch, deck or backyard furniture (or really anywhere indoors that you want some accent pillows. They are so easy and fast to make that you will want to make new ones for every season!

