I’ll be back later today with a post on “How To Hem Without Puckers“, but for now I have a quick mending tip.
Our oldest daughter was home last weekend and she had a hole in her workout pants near the seam. She hadn’t done this alteration before, but she knew what to do.
So, I thought you’d like to follow along as I re-enact what she did to fix it:

I didn’t get the camera close enough to capture her work, but these diagrams should show you how.
You can see on this diagram below that the hole is right in the seam and into the garment itself.

She began stitching (her stitching line is represented by the red dotted line in the diagram below) a few inches above the hole starting at the original seam line. Back stitch at the beginning of this seam to hold it tightly.
You can eyeball the new seam line or draw it on your fabric with a washable fabric marker of a different color. Your goal is to sew out from the original seam line in a gradual fashion. This may mean beginning several inches above the hole and ending several inches below it.
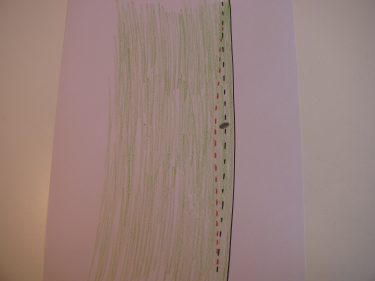
Then, continue stitching past the hole (when you are stitching near the hole, you may want to back stitch a few times to make sure there is plenty of reinforcement near the hole) and gradually stitch back to the original seam line again. Back stitch again.
This is an important foundational concept in alterations. When you “taper” the seamline, you make a smooth and gradual transition. If you do it correctly, you shouldn’t be able to tell there was ever a hole. If you don’t do this, you will have a big bubble where you sewed around the hole.
Does that make sense?
I use this method almost every time I make an alteration. We’ll use this method over and over again in upcoming posts.

Thank you for this
You’re welcome! Glad it helped.