
This weekend, I am headed to my niece’s baby shower. I’ve already had a gift sent to her from her registry, but I always like to sew a few items and tuck them in a basket so the mama has something to open on her special day.
In keeping with the animal theme of this shower, I found a forest print in the colors of her nursery. So, let’s sew baby swaddle blankets with it!

Whether you are new to sewing or have been sewing for years, these are so easy to make and can be made the morning of the shower, if you needed a quick gift!
Many parents these days are waiting until the baby is born to find out whether it is a boy or girl. So, if you want to wait until he or she is born and then make and send the gift, you could have a few different fabrics on hand. Or, you can run to the store and whip these up within an hour or two!
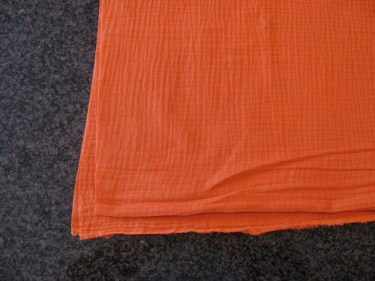
These particular blankets are made of a gauze fabric, which looks like 2 thin layers of fabric woven together. I’m sure you’ve seen it before. Mamas like to swaddle their babies tightly in these so that baby feels snug as a bug in a rug!
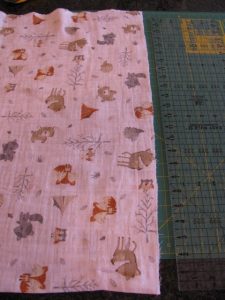
You can find this type of gauze fabric at your local big box fabric store, at quilt shops around the country, as well as online. Some people call it muslin, although muslin is usually off white and more tightly woven than this fabric. Here are what the fabrics look like for this project:

Basically, these blankets are easy because they are finished around all the edges and you can make them without sewing two pieces of fabric together.
However, if you’re looking to make a flannel blanket, that is doubled with 2 layers of fabric (and thicker) to lay baby on the floor, cover them on a cold day in the stroller or car seat, or any manner of other uses, see my post on Baby Blankets..Let’s Sew Some!
But to make these swaddle blankets, you will need about 1 1/4 yards of fabric for each blanket. Of course, if you want larger blankets, just buy more fabric for each one!
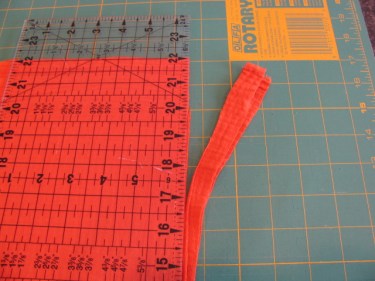
As you can see in the photo below, this piece of fabric is very crooked. It doesn’t line up straight like it should. You can see that I used my rotary cutter in the photo below to highlight the discrepancy. I haven’t seen a fabric that was this far off in a long time. So let’s fix that.
I like to use a rotary cutter and mat to trim fabric.

You’ll want to trim off the jagged edges on both the width and the length of the fabric edges. Your goal is to make this blanket a square shape so that it fold up nicely. You could also make it into a rectangle shape, if you prefer. The choice is yours. So, you can design your own measurements.
Before I cut the fabric, I like to fold up the fabric so that I can use my rotary cutter and mat and trim in one cut on each side of the rectangle or square. The reason I fold it up twice is that my rotary mat is only 24″ long and this blanket will be 45 inches long. Using a rotary blade and mat just makes cutting more efficient and precise than using scissors, but scissors are just great too.
You don’t have to fold the fabric. It will just take a few more passes with the rotary cutter per side that you cut.
If you’ve never used a rotary cutter before, go slowly or practice on the scraps first. That way, you’ll feel more confident when you go to cut the actual material.
Be careful to make sure you are not cutting any of the folded edges.
Once I’ve finished trimming the edges of one fabric, I trim all the edges of the second fabric the same way:
Next, I press under the raw edges of the fabric using an iron.
I press under 1/4″ all the way around the fabric on all four sides.
Then, when I’m finished pressing all around the square one time, I press under an additional 1/4″ around all the edges of the square a second time.

Once I have the edges pressed under twice, it’s time to sew the edges.
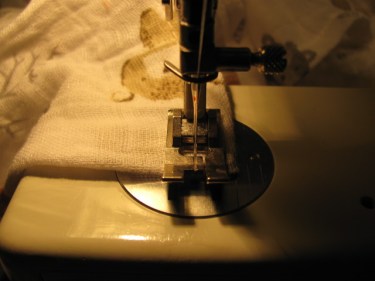
I like to have the blanket with the right side of the fabric facing up and the folded edges underneath:

Now, holding your threads in your left hand, stitch a few stitches and then let go of the threads. Back stitch to hold the stitches in place.
Next, stitch all the way down the first edge of the fabric keeping your presser foot edge next to the folded edge of the fabric:
Stitch to the very end of the edge and then back stitch 1/4″, stitching over the stitches you just made when you stitched down this edge, like this:
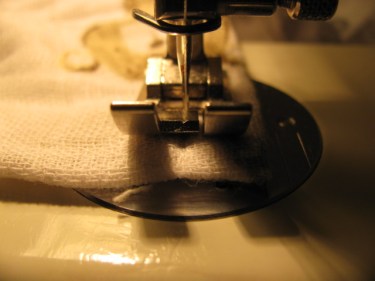
Now, pivot by keeping the needle in the fabric and lifting the presser foot up. Turn the fabric 90 degrees and back stitch back to the edge of the fabric like this. You will be stitching in reverse back to the edge behind the foot:
Now stitch going forward all the way down the blanket to the next corner.
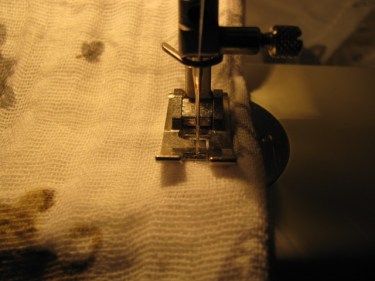
At the next corner, repeat the process: Stitch to the very end, Keep the needle down, lift the presser foot and turn 90 degrees. Back stitch in reverse to the edge behind the presser foot and then stitch forward all the way down the blanket to the next edge.
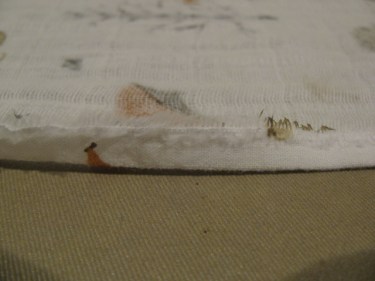
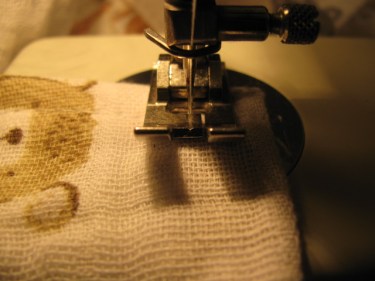
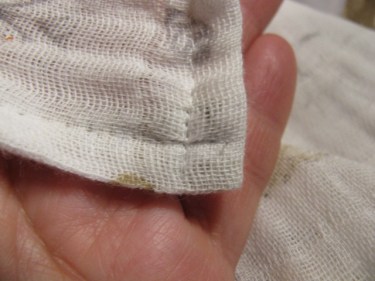
It should look like this when you’re finished at each corner:
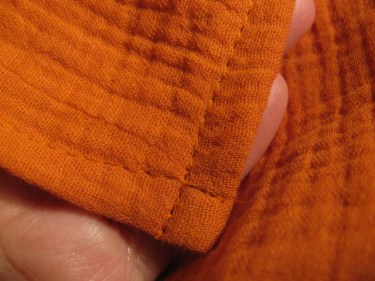
Perhaps it’s easier to see on the darker blanket:
That’s all there is to it!
If you’d like to, you can use a decorative stitch around the edges instead of a straight stitch.

Then, package them up in a basket or gift bag and they are ready to gift!
