Finding drapes in the color, length and fabric you need is not an easy task, unless you get them custom made. But that is expensive.

I found a set of drapes in the color and style I wanted, but the length was too long. Also, when I stood on the curb outside, they didn’t look good because the window in the bedroom next to this one had white lined drapes. Maybe you aren’t concerned with that type of thing, but it stuck out like a sore thumb to me.
Back inside the house, I decided to hem them and line them in white to match the other window, Because it’s the guest room, I thought it might be nice to line them with “block out” or “black out” fabric so that whoever is sleeping there, wouldn’t be blinded by the early morning sun.
You can use most any type of fabric for lining. JoAnn’s sells a brand called Roc Lon. It is Dry Clean only. So, if you can wash your drapes, choose a lining fabric that is washable. Cottons are the most common. Check with your local fabric store for ideas.
I found some decent block out fabric by the yard and on the roll at Joann Fabrics. I chose it partly because it was a little wider than the width of each drapery panel, which would mean I could figure out the yardage easily. I only needed to measure the length of the drape panels, add those measurements together and add enough for hems (at the top of the drapes and on the bottom).
My drapery rods were hung at a strange height by the previous owners. They were hung at 90″ above the ground and store bought drapes are 84″ and 95″ in length, so I either had to move the rods or buy longer panels and shorten them. On this window, I decided to shorten the drapes. I didn’t want to rehang rods, patch holes and paint.
Let’s start with the hem and proceed to the lining after that.
My drapes have metal grommets. Other drapes have pleats or gathers.
First, I measured from the top of the grommet hole to the hem. If your drapes have gathers, measure from the top of the casing opening where your rod fits in. If your drapes have pleats, measure from where the hook goes into the hole along the rod.
Don’t measure from the top of the drape!
Do you see why?
The drape hangs from the rod, so the top of the drape doesn’t matter in this case. Measure from where the drape hangs from the rod.

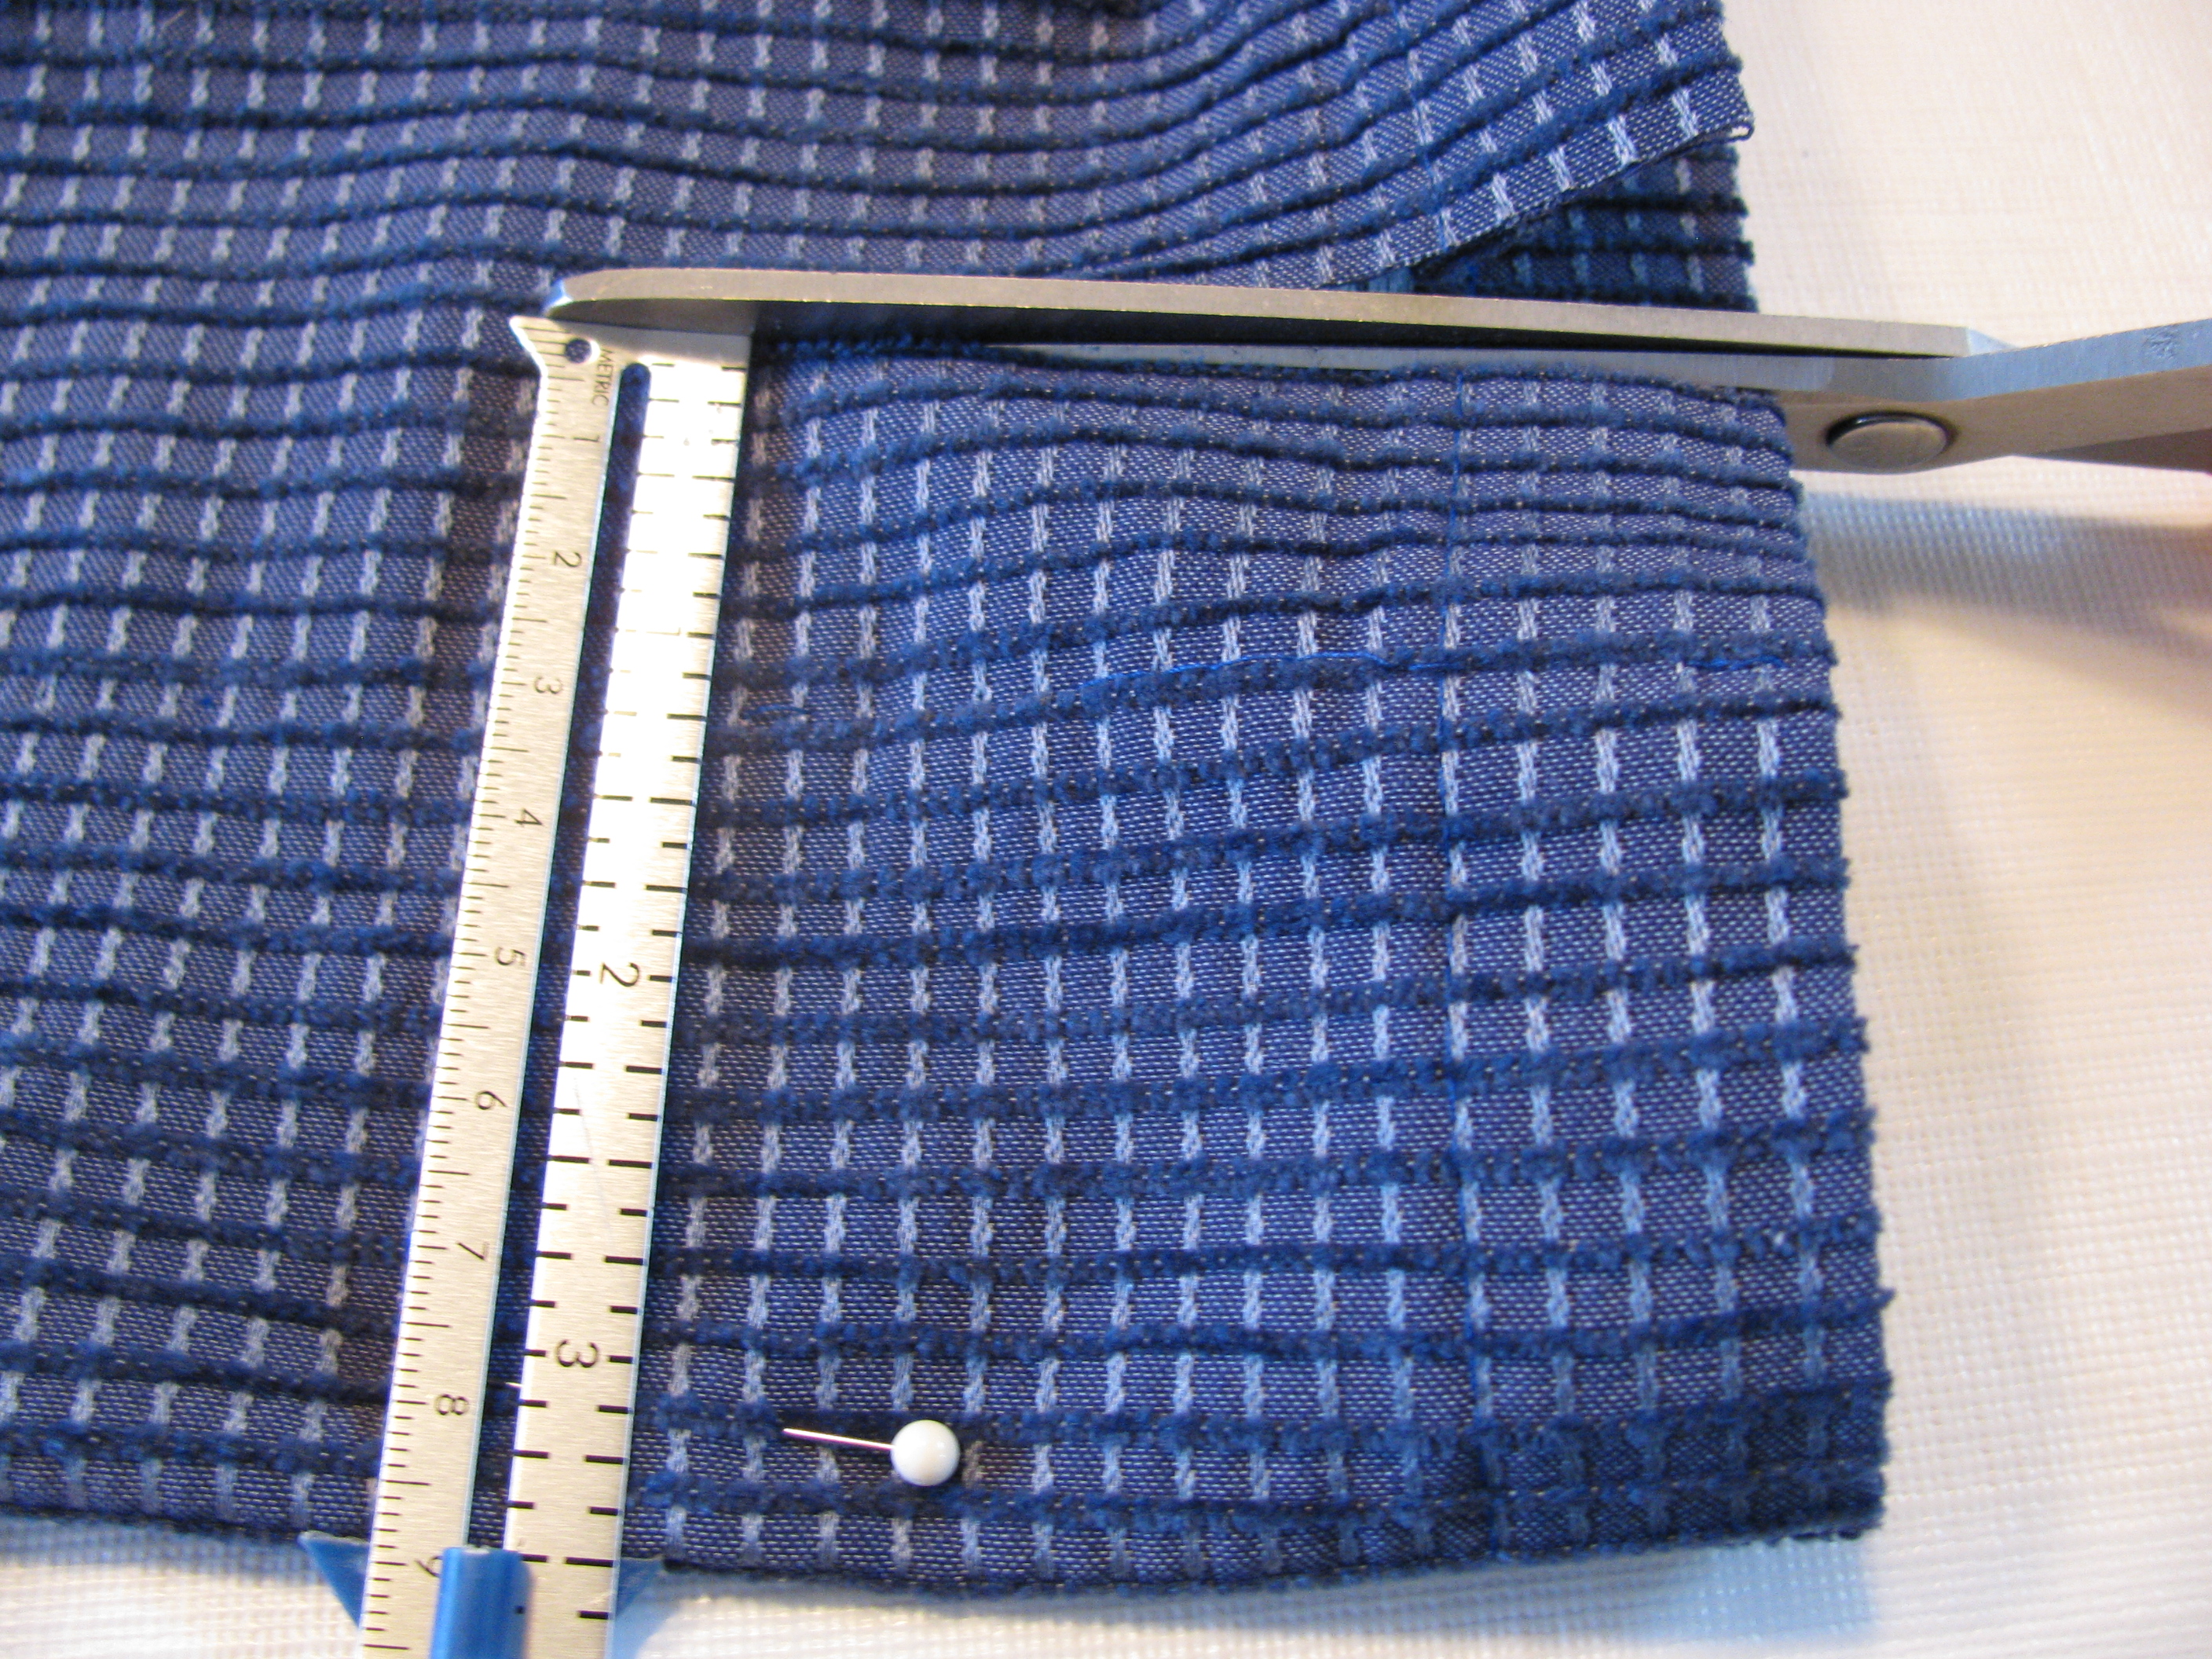
To begin, I took out the original hem with a seam ripper.

Then, I folded and pinned up the hem at the length I needed.

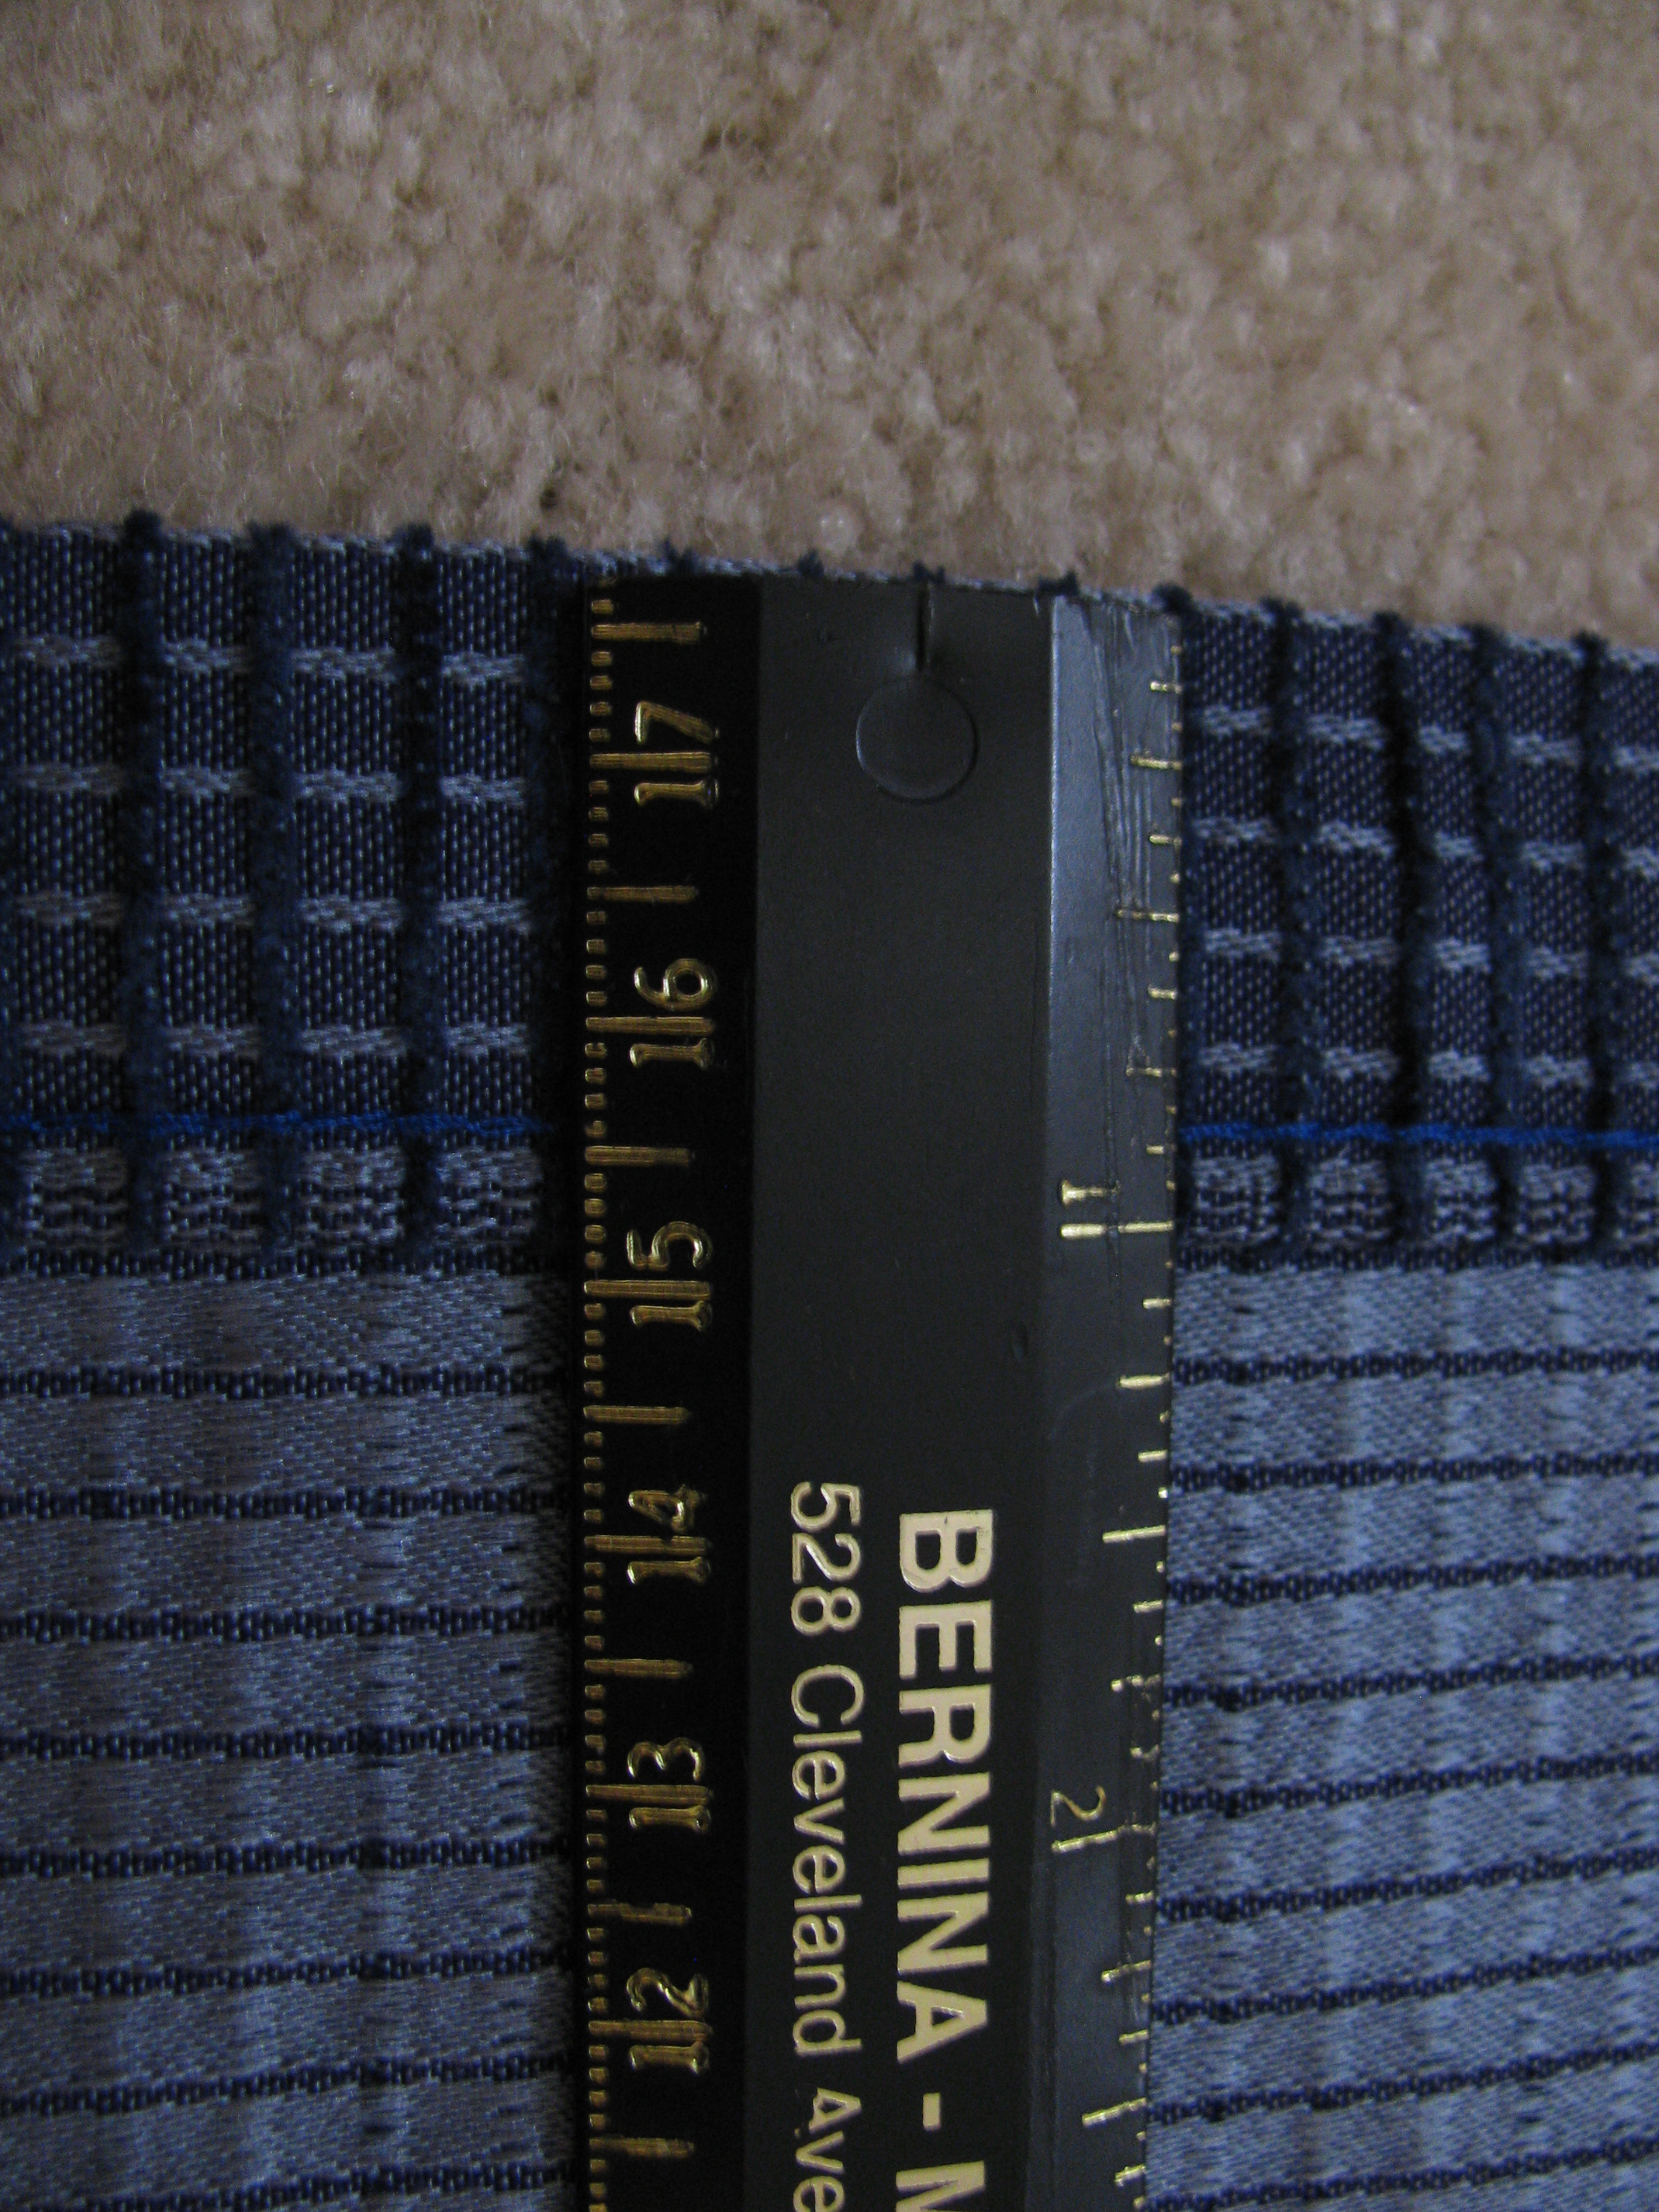
The original hem was 3 inches and had another 1/2″ turned over to hide the raw edge.
So, I measured up 3 1/2″ from the hem edge and cut the excess off.
Be careful not to cut the drape underneath!
Since you are smarter than me, you will probably choose to unfold the hem and cut it so there’s no chance of accidentally cutting the drape, but I guess I like to live on the wild side. Ha!
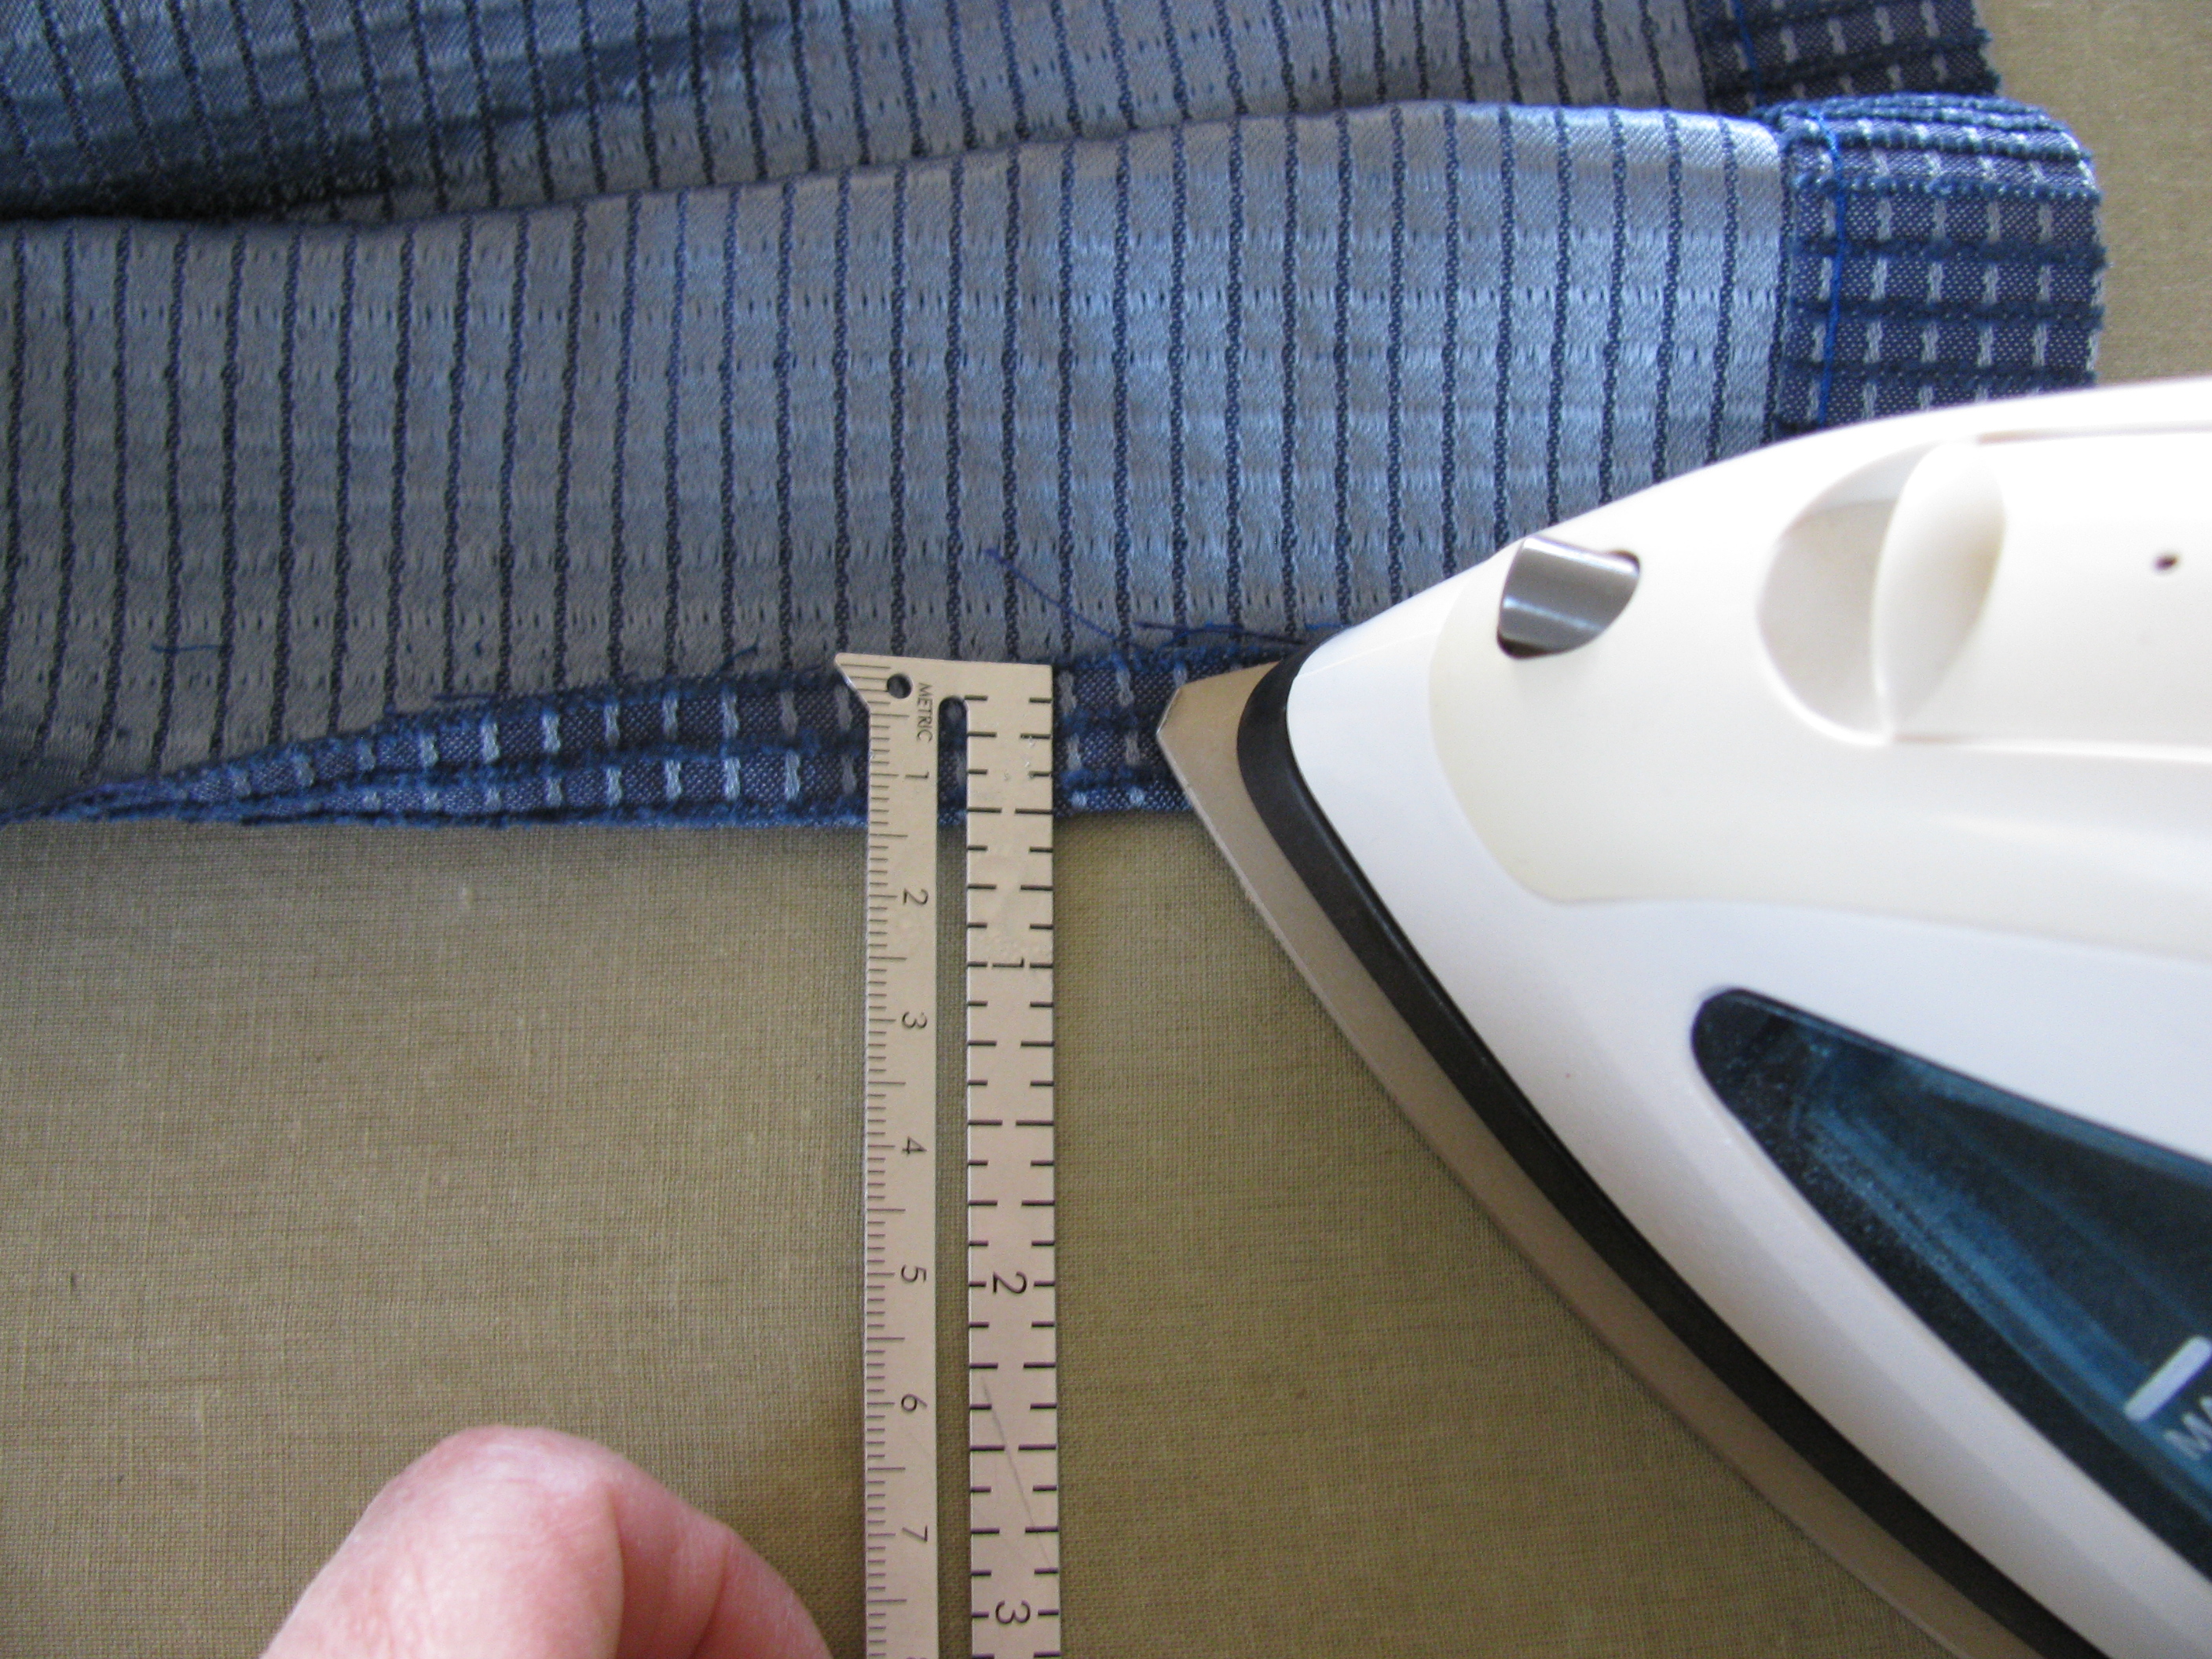
Press that folded edge. That will be your new hemline.
Remove the pins as you press, of course!

Next, fold down 1/2″ from the cut edge and press it. This may seem a little backwards, but I like to make sure my hemline is straight. If the cut edge isn’t straight, the hemline won’t be either. Does that make sense?
Now, just turn up your hem on the fold line and topstitch along the edge of that fold on the back of the drape, using the folded edge as your guide. You can topstitch from the front of the drape, if you can see the folded edge as you sew. I usually stitch from the front, but stitching from the backside of the drape makes it easier for you to see in the photo below.

Ok, now you are ready to add the lining.
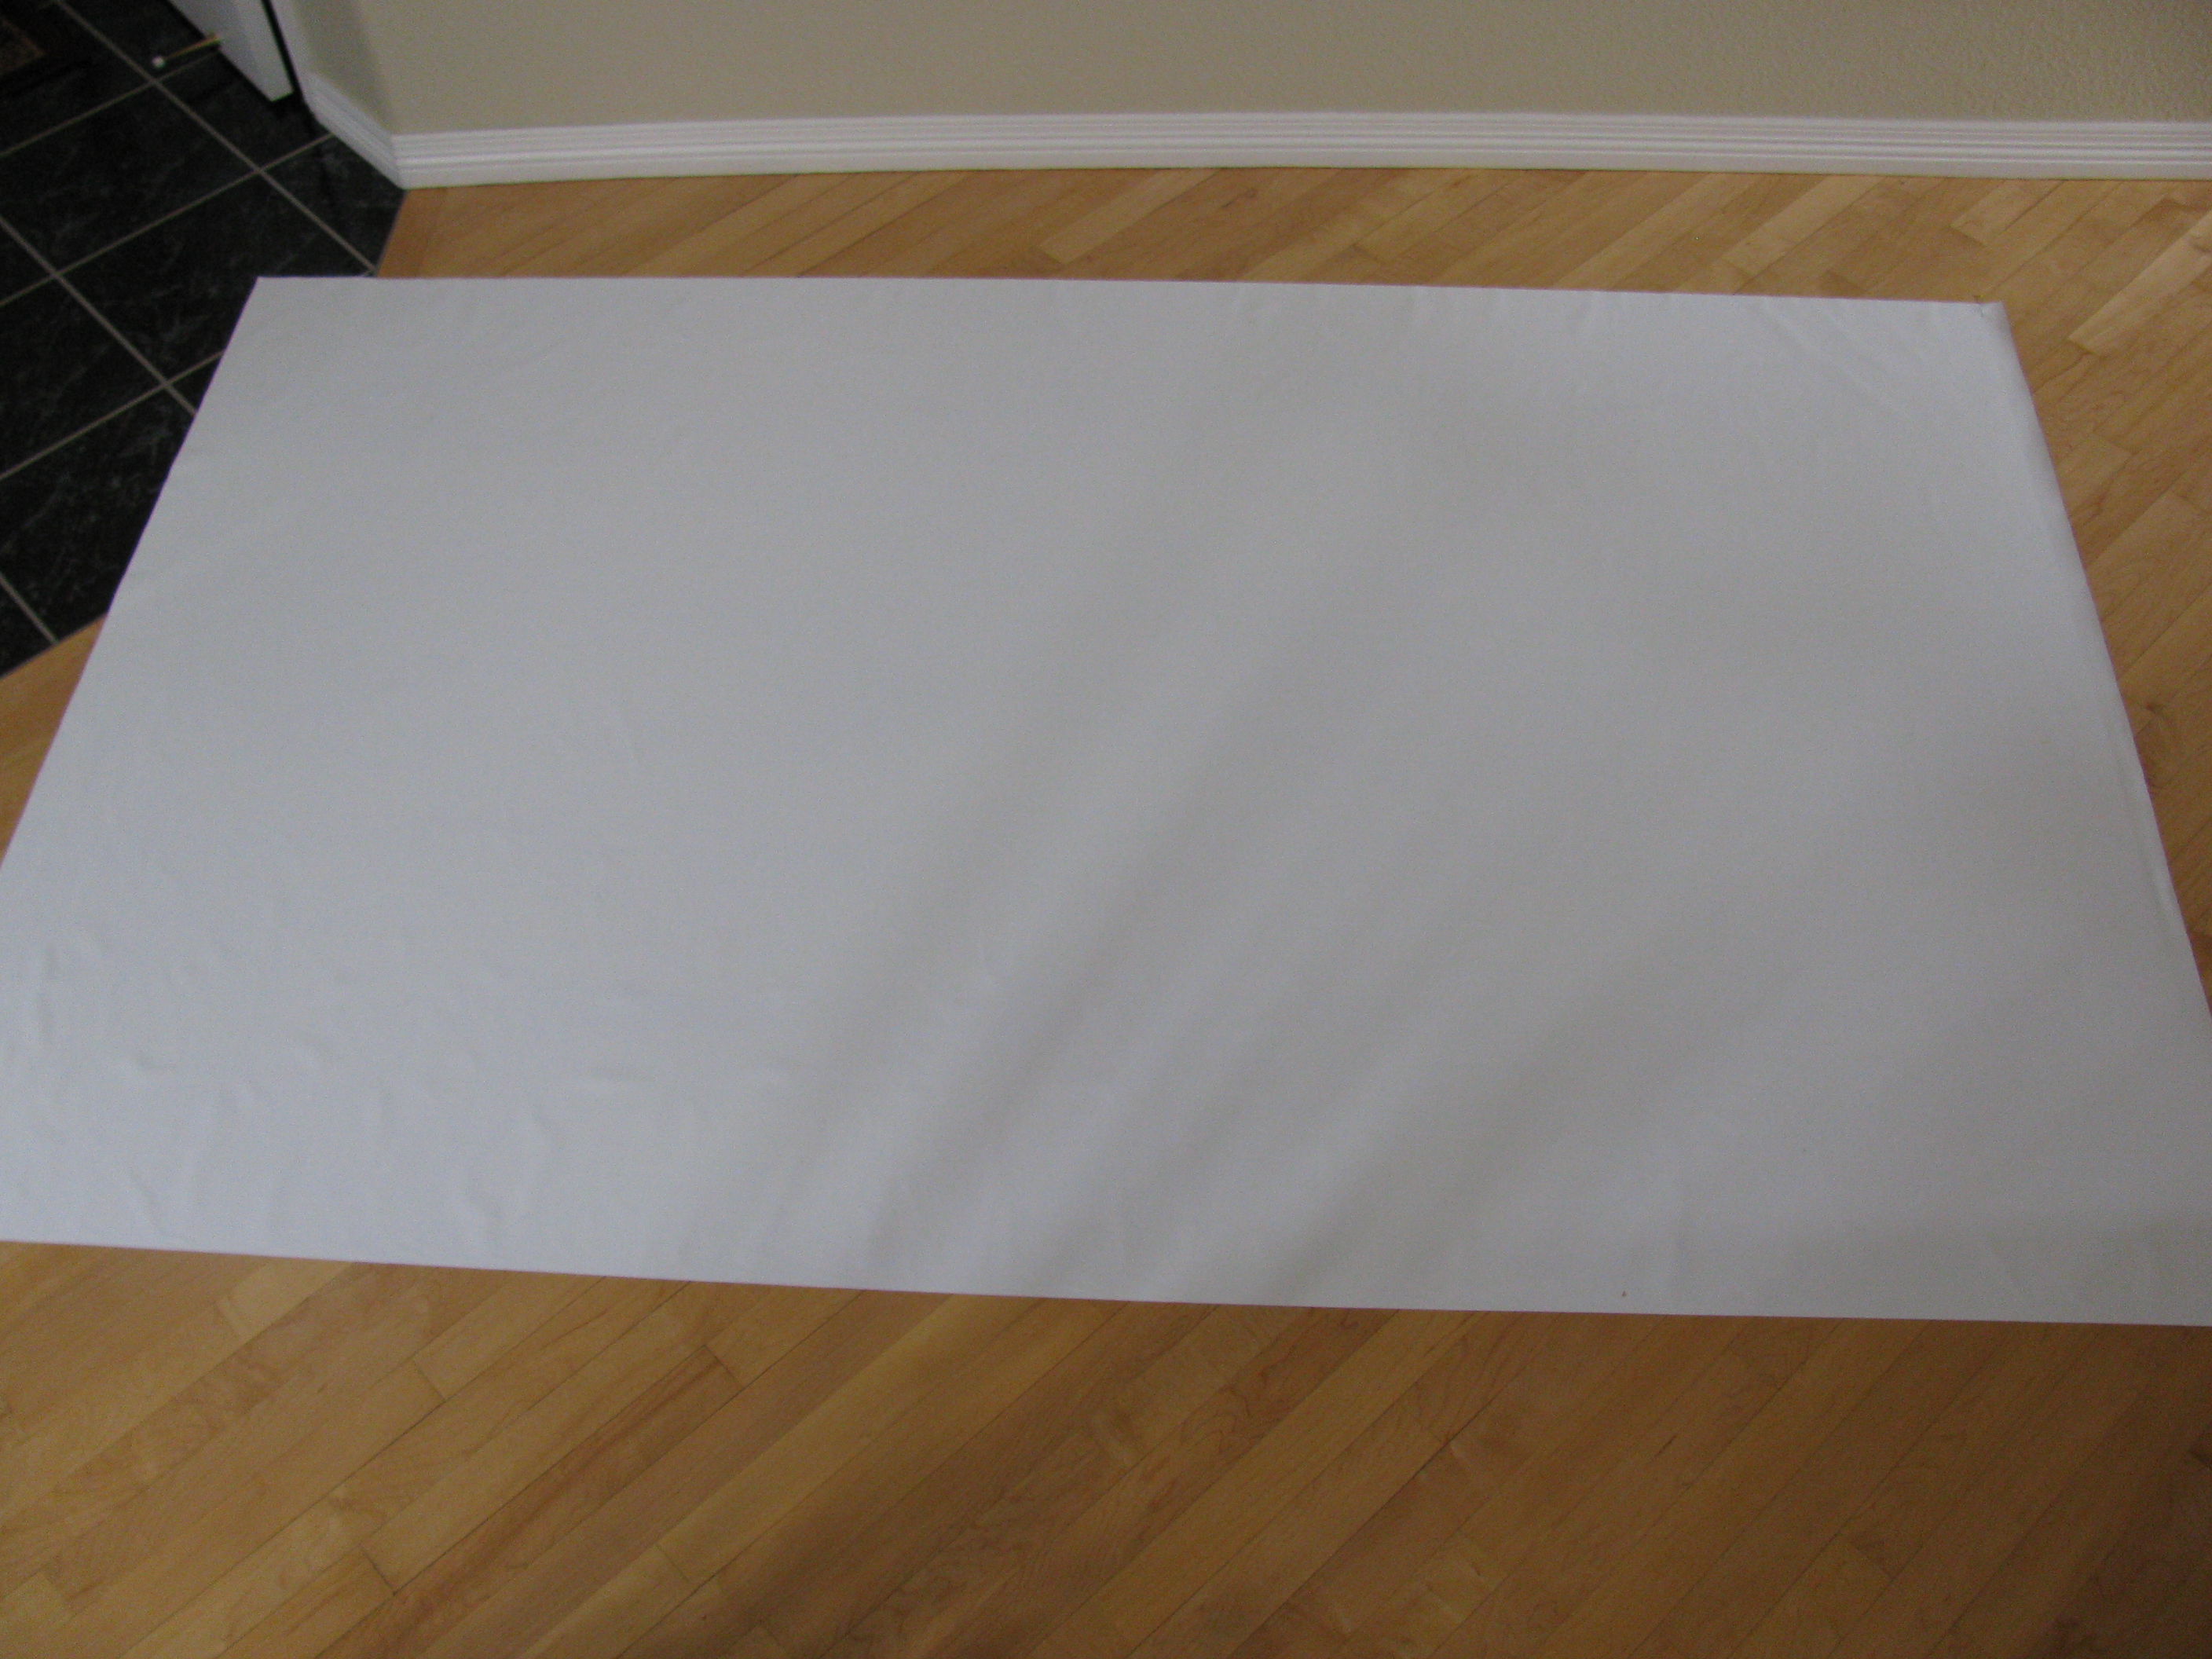
On a flat surface, lay out your lining fabric.
This is my “block out” lining fabric.
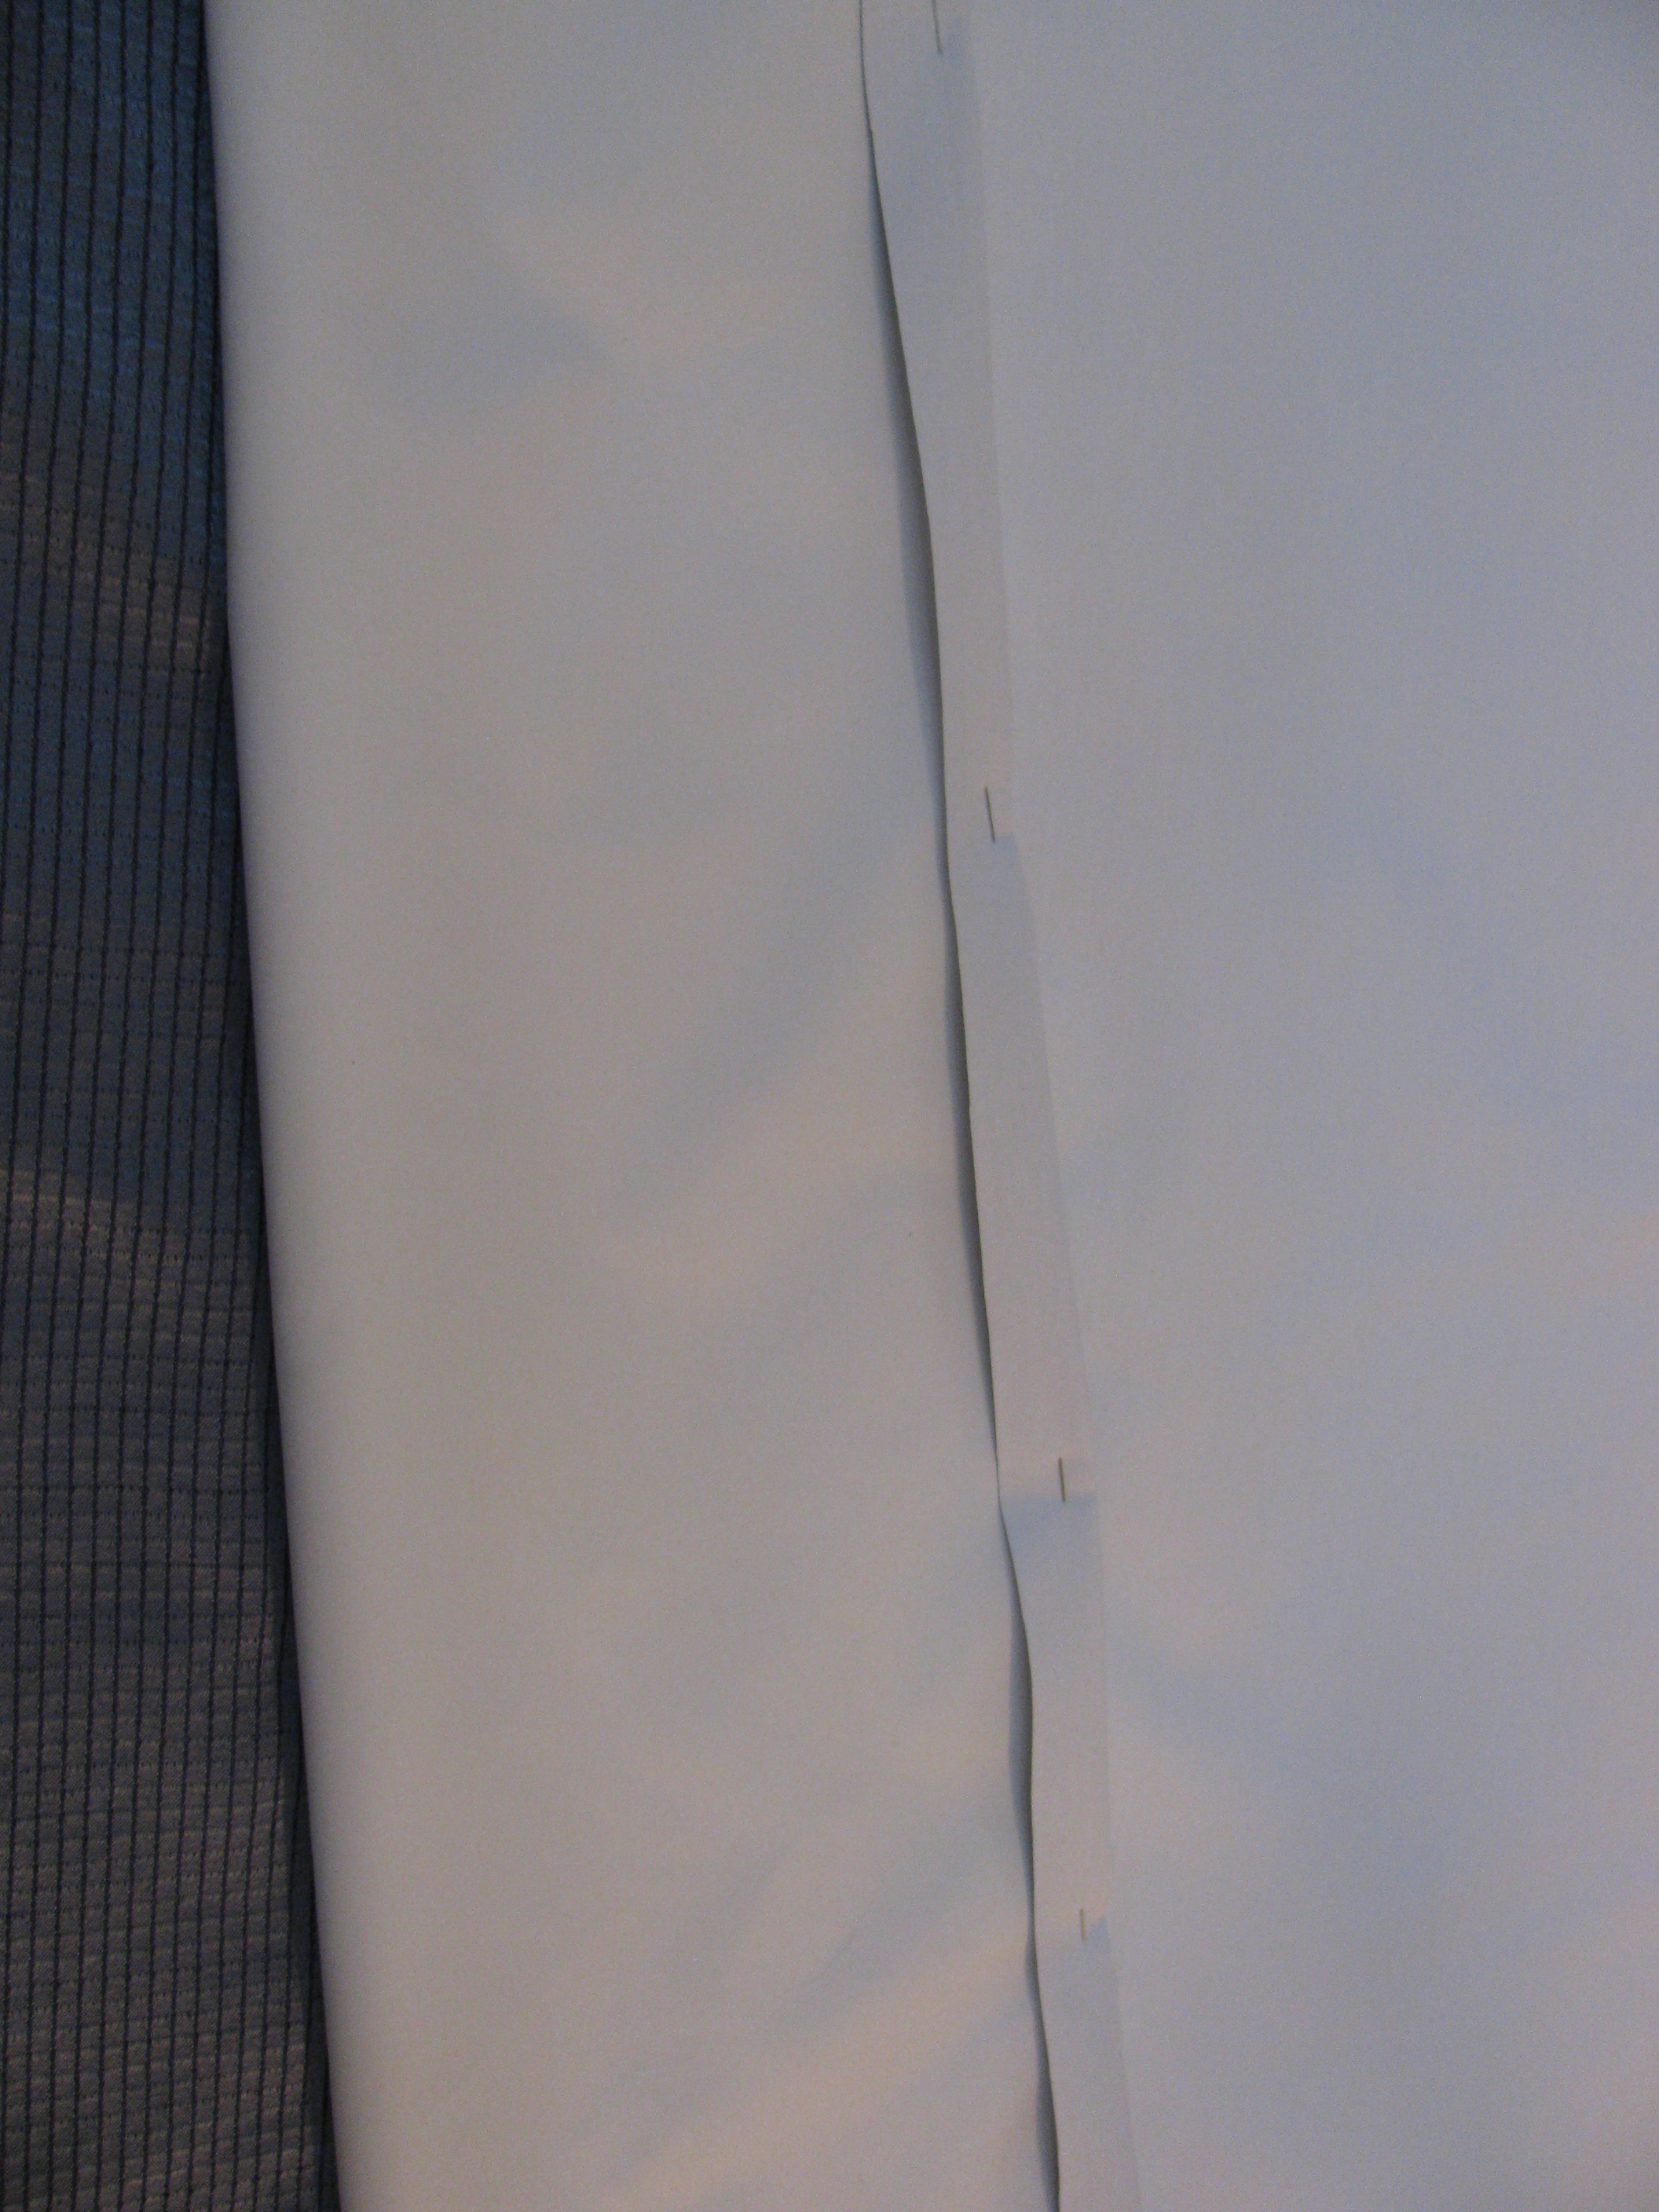
Cut the lining fabric at least 2 inches larger all the way around than the finished size of your drape. If you can make it larger, that’s fine. This drape was 54″ wide and my blockout fabric was 60″, so it was 3″ wider on each side of the drape, which was perfect!
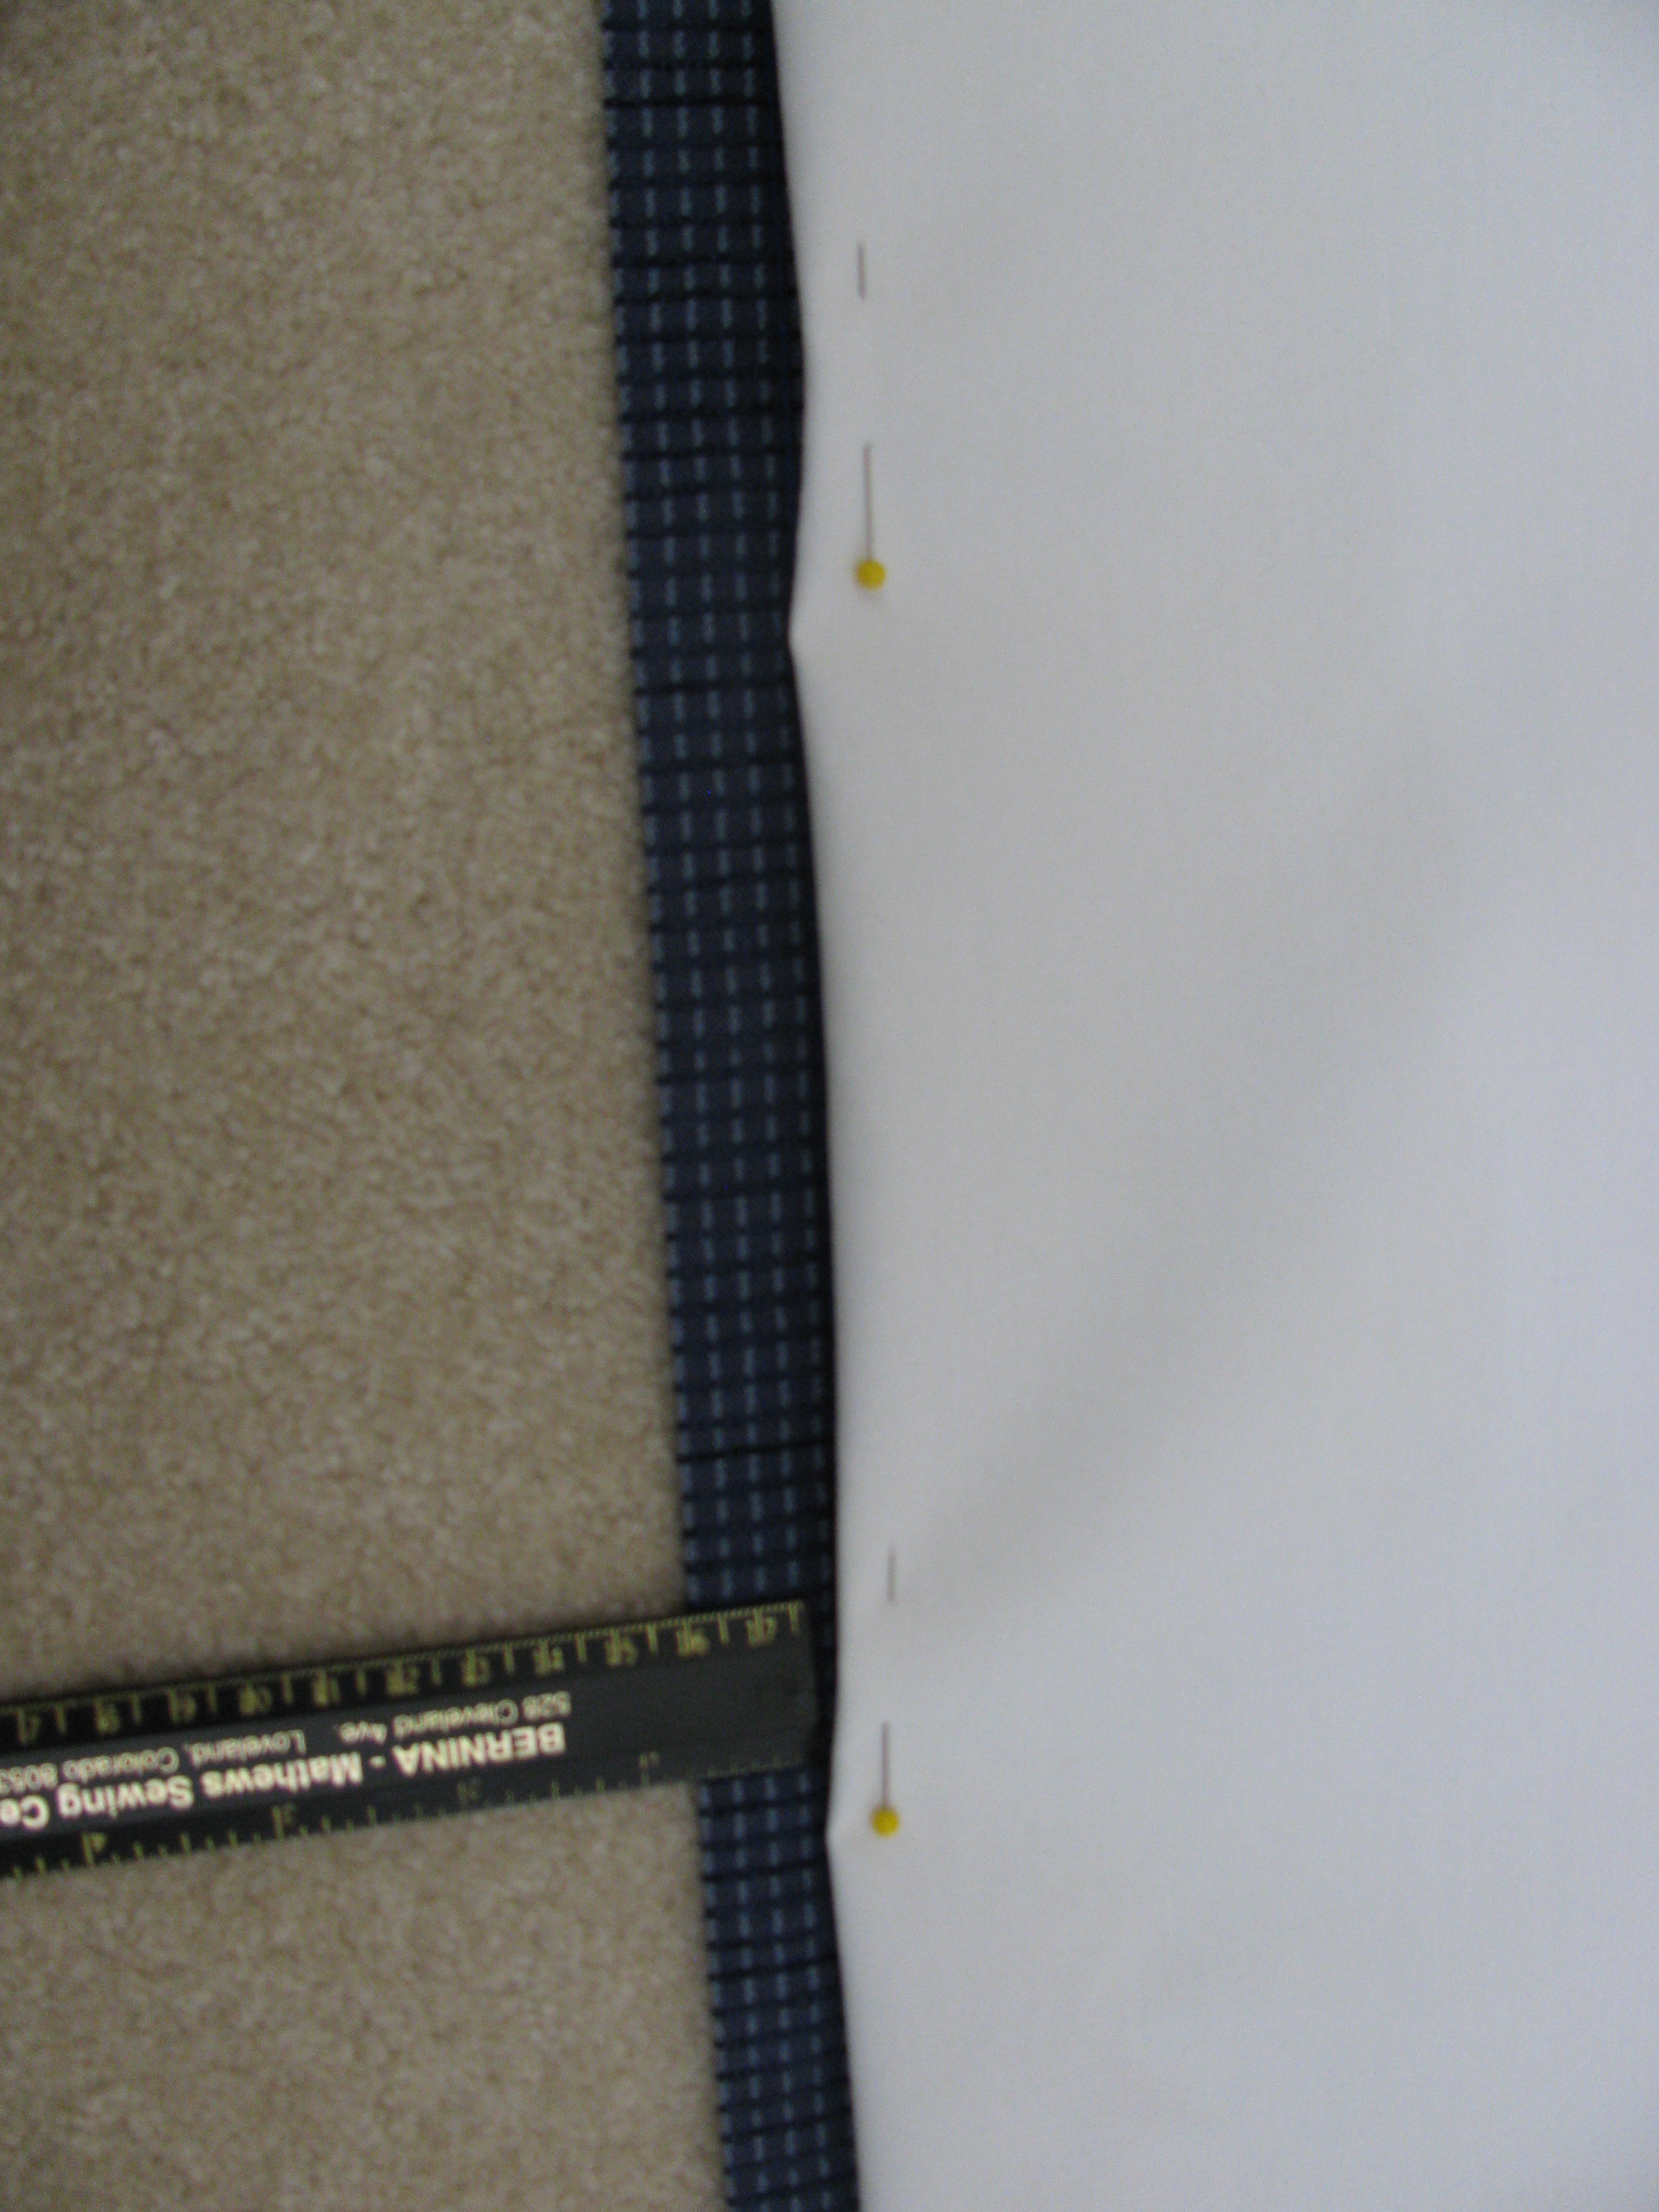
Once you cut it out, lay the top edge of the lining to the top edge of the drape like this photo below:

It looks like its upside down, but this is what you want. You are going to be sewing at that fold just under the grommets all across the width of the drape. So, lay the right side of the lining to the wrong side of the drape and it’s upside down! Study the photo above until it makes sense to you.
Keep reading and I think you’ll see how it works.
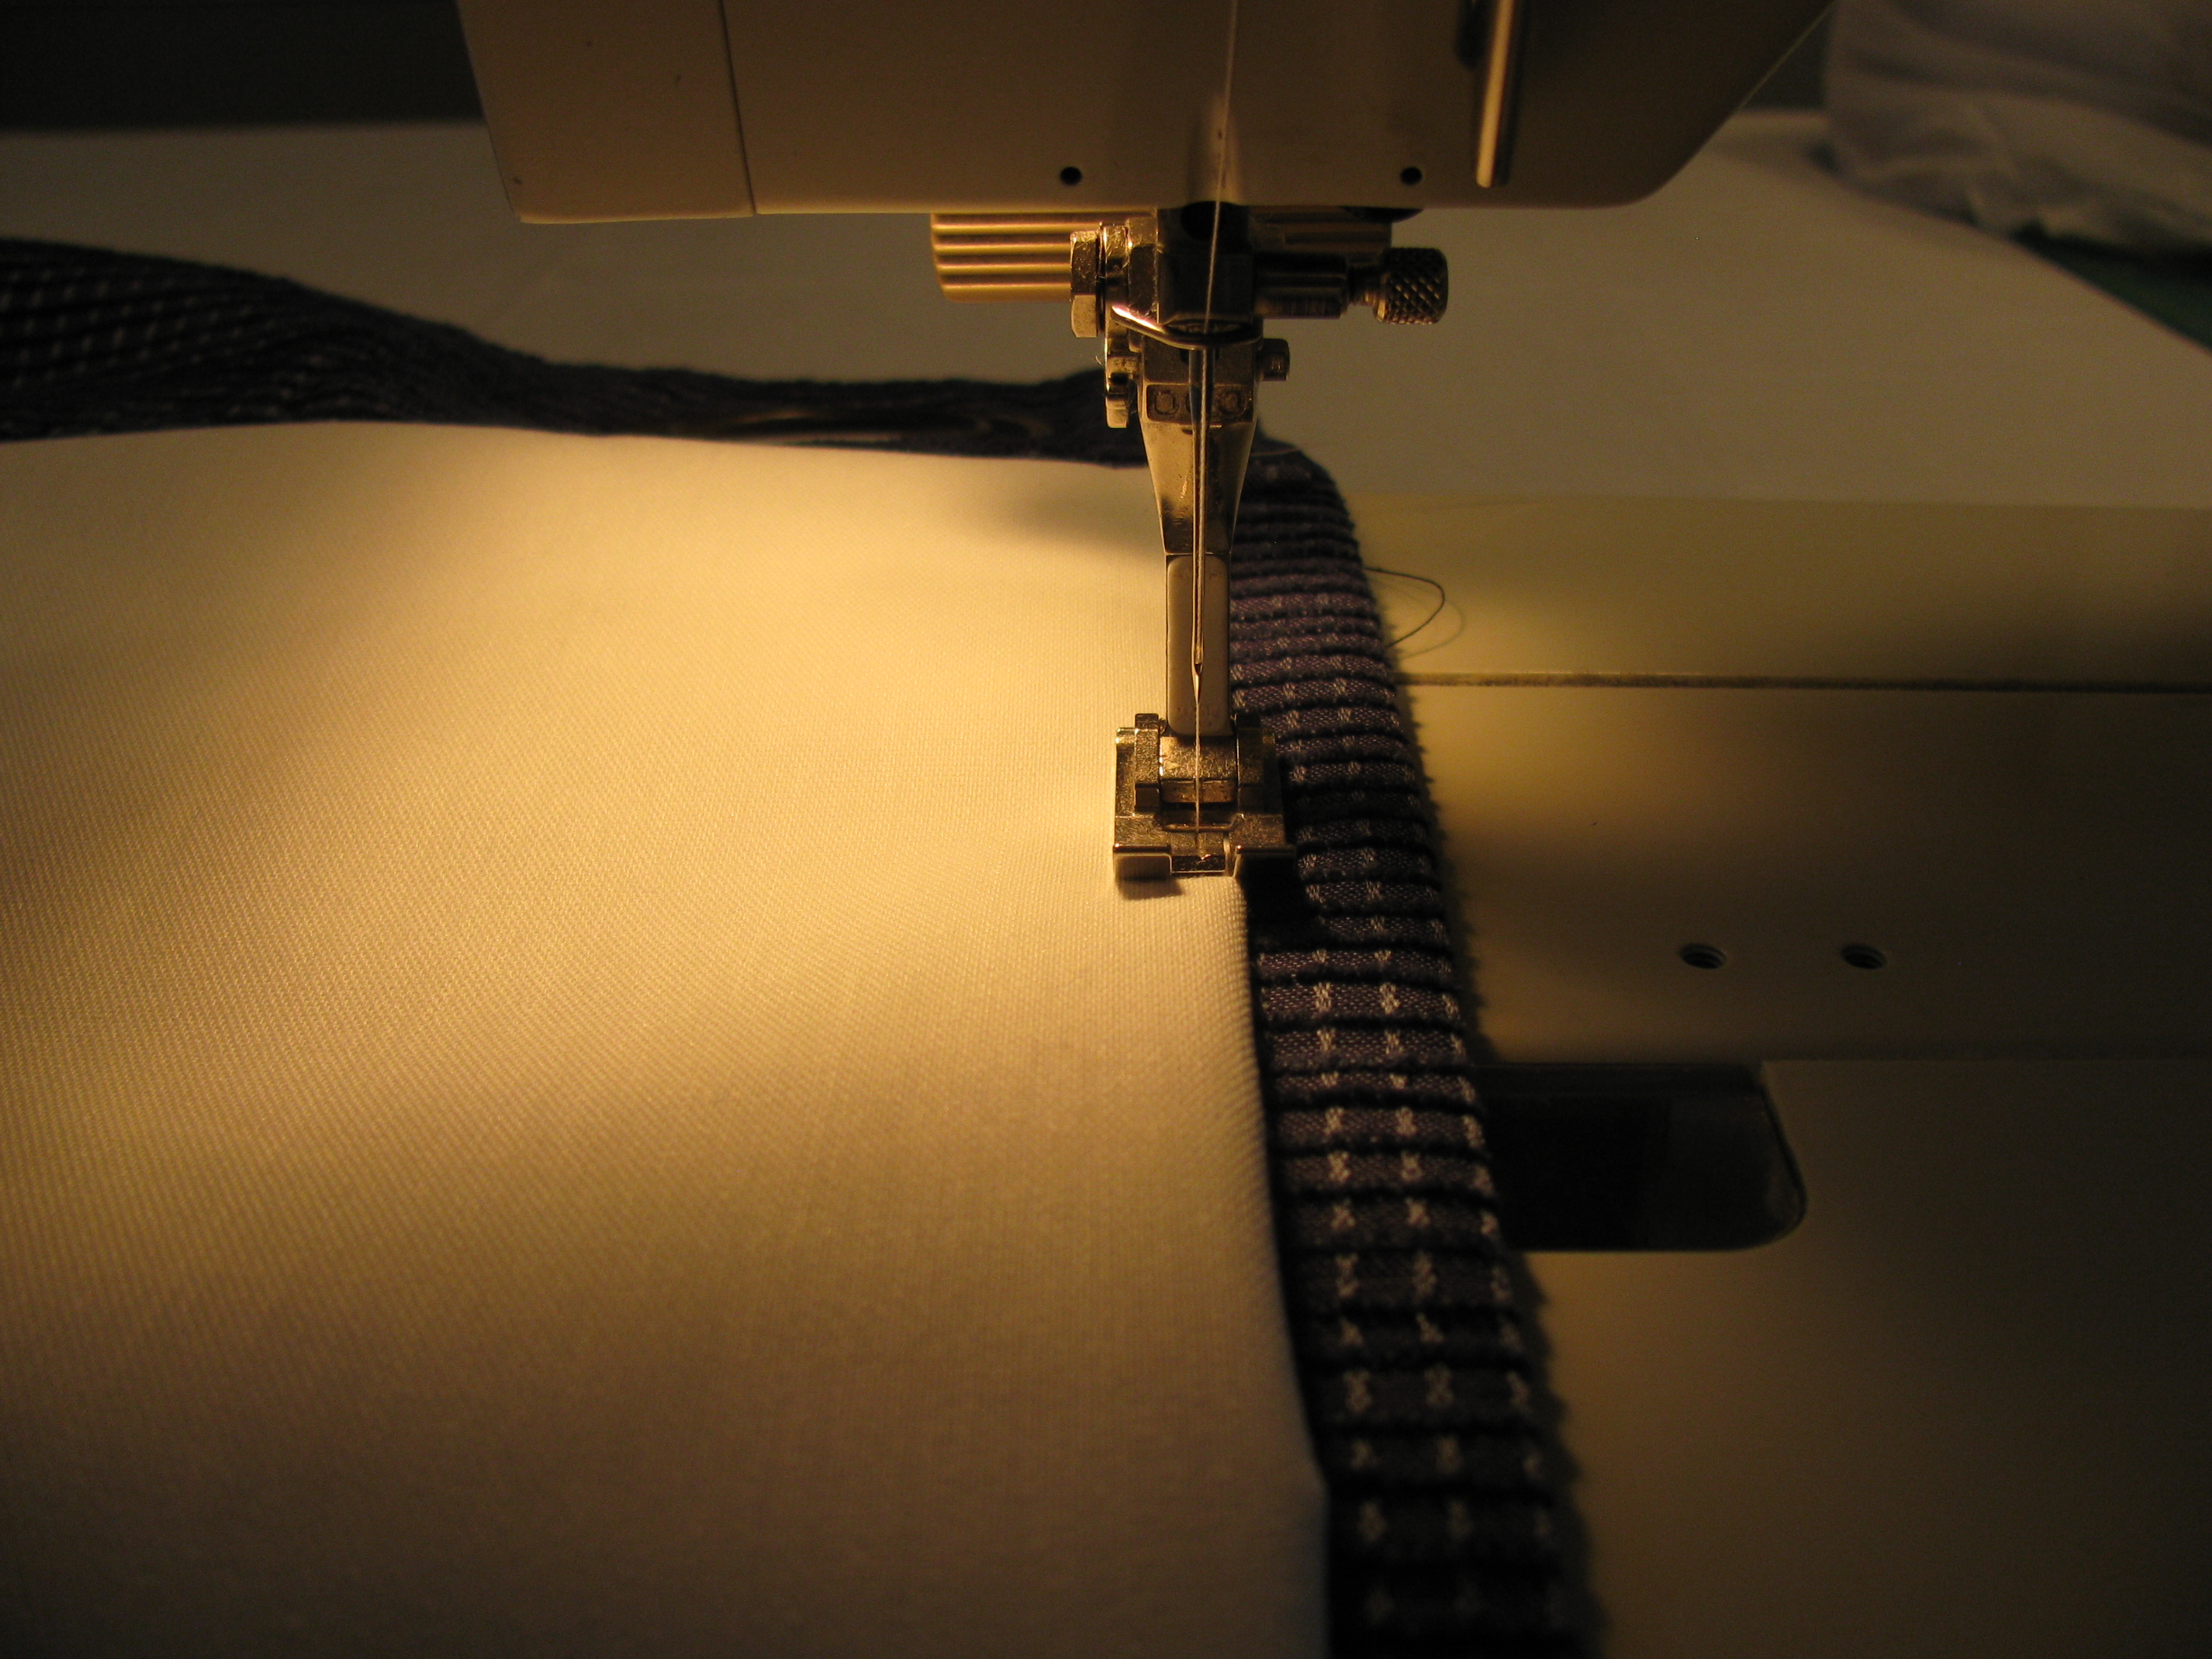
In the photo below, can you see how there is a fold (bump) to the left of the presser foot? I am stitching barely to the right of that fold (bump). You can see the wrong side of the drape off to the right in the photo:

Once you stitch across the width of the drape, along that fold or bump, pull the lining down to cover the entire wrong side of the drape (in the photo below) and the raw edge will be hidden under the fold. You don’t have to finish the raw edge of the block out fabric because it doesn’t ravel.

Now, you’re going to work on the hem of the lining.
As long as your lining covers the folded hemline that you topstitched earlier and as long as the lining hem is not longer than the drape, you are good. Any length in between those areas is fine. Unless your drapes are see through. Then, I would have your lining end just under the topstitched line on the drape.
Here I folded up the lining so that it was 1″ above the bottom edge of the drape:
Pin only the lining fabric. You don’t want to set an iron on block out fabric because it will melt. It is a man made material.

I added a half inch to the length of my lining fabric and cut the excess off.
Now my lining is 1 1/2″ above the bottom edge of the drape:

Next, I stitched along the folded edge of the hem of the lining fabric:

Next, measure the “side” hems of the drapes. They run along the vertical edges of the drapes. In this case, they are about one inch:
So, I folded under the sides so that they were 1 ” from the edge of the sides and pinned it all the way down (just like I did for the hem of the lining at the bottom):
This time, I pinned the lining to the drape along the sides:

Next, I stitched along the edge of the lining. If you have light colored drapes and the stitching is going to show, then stitch from the right side of the drape and use the original stitching line as your guide. Stitch right over the top of it being as exact as you can be. With my drapes, it didn’t show at all.
This is what the inside should look like, except that the bottom edge of the lining will have already been stitched:

Here’s the length before I started:
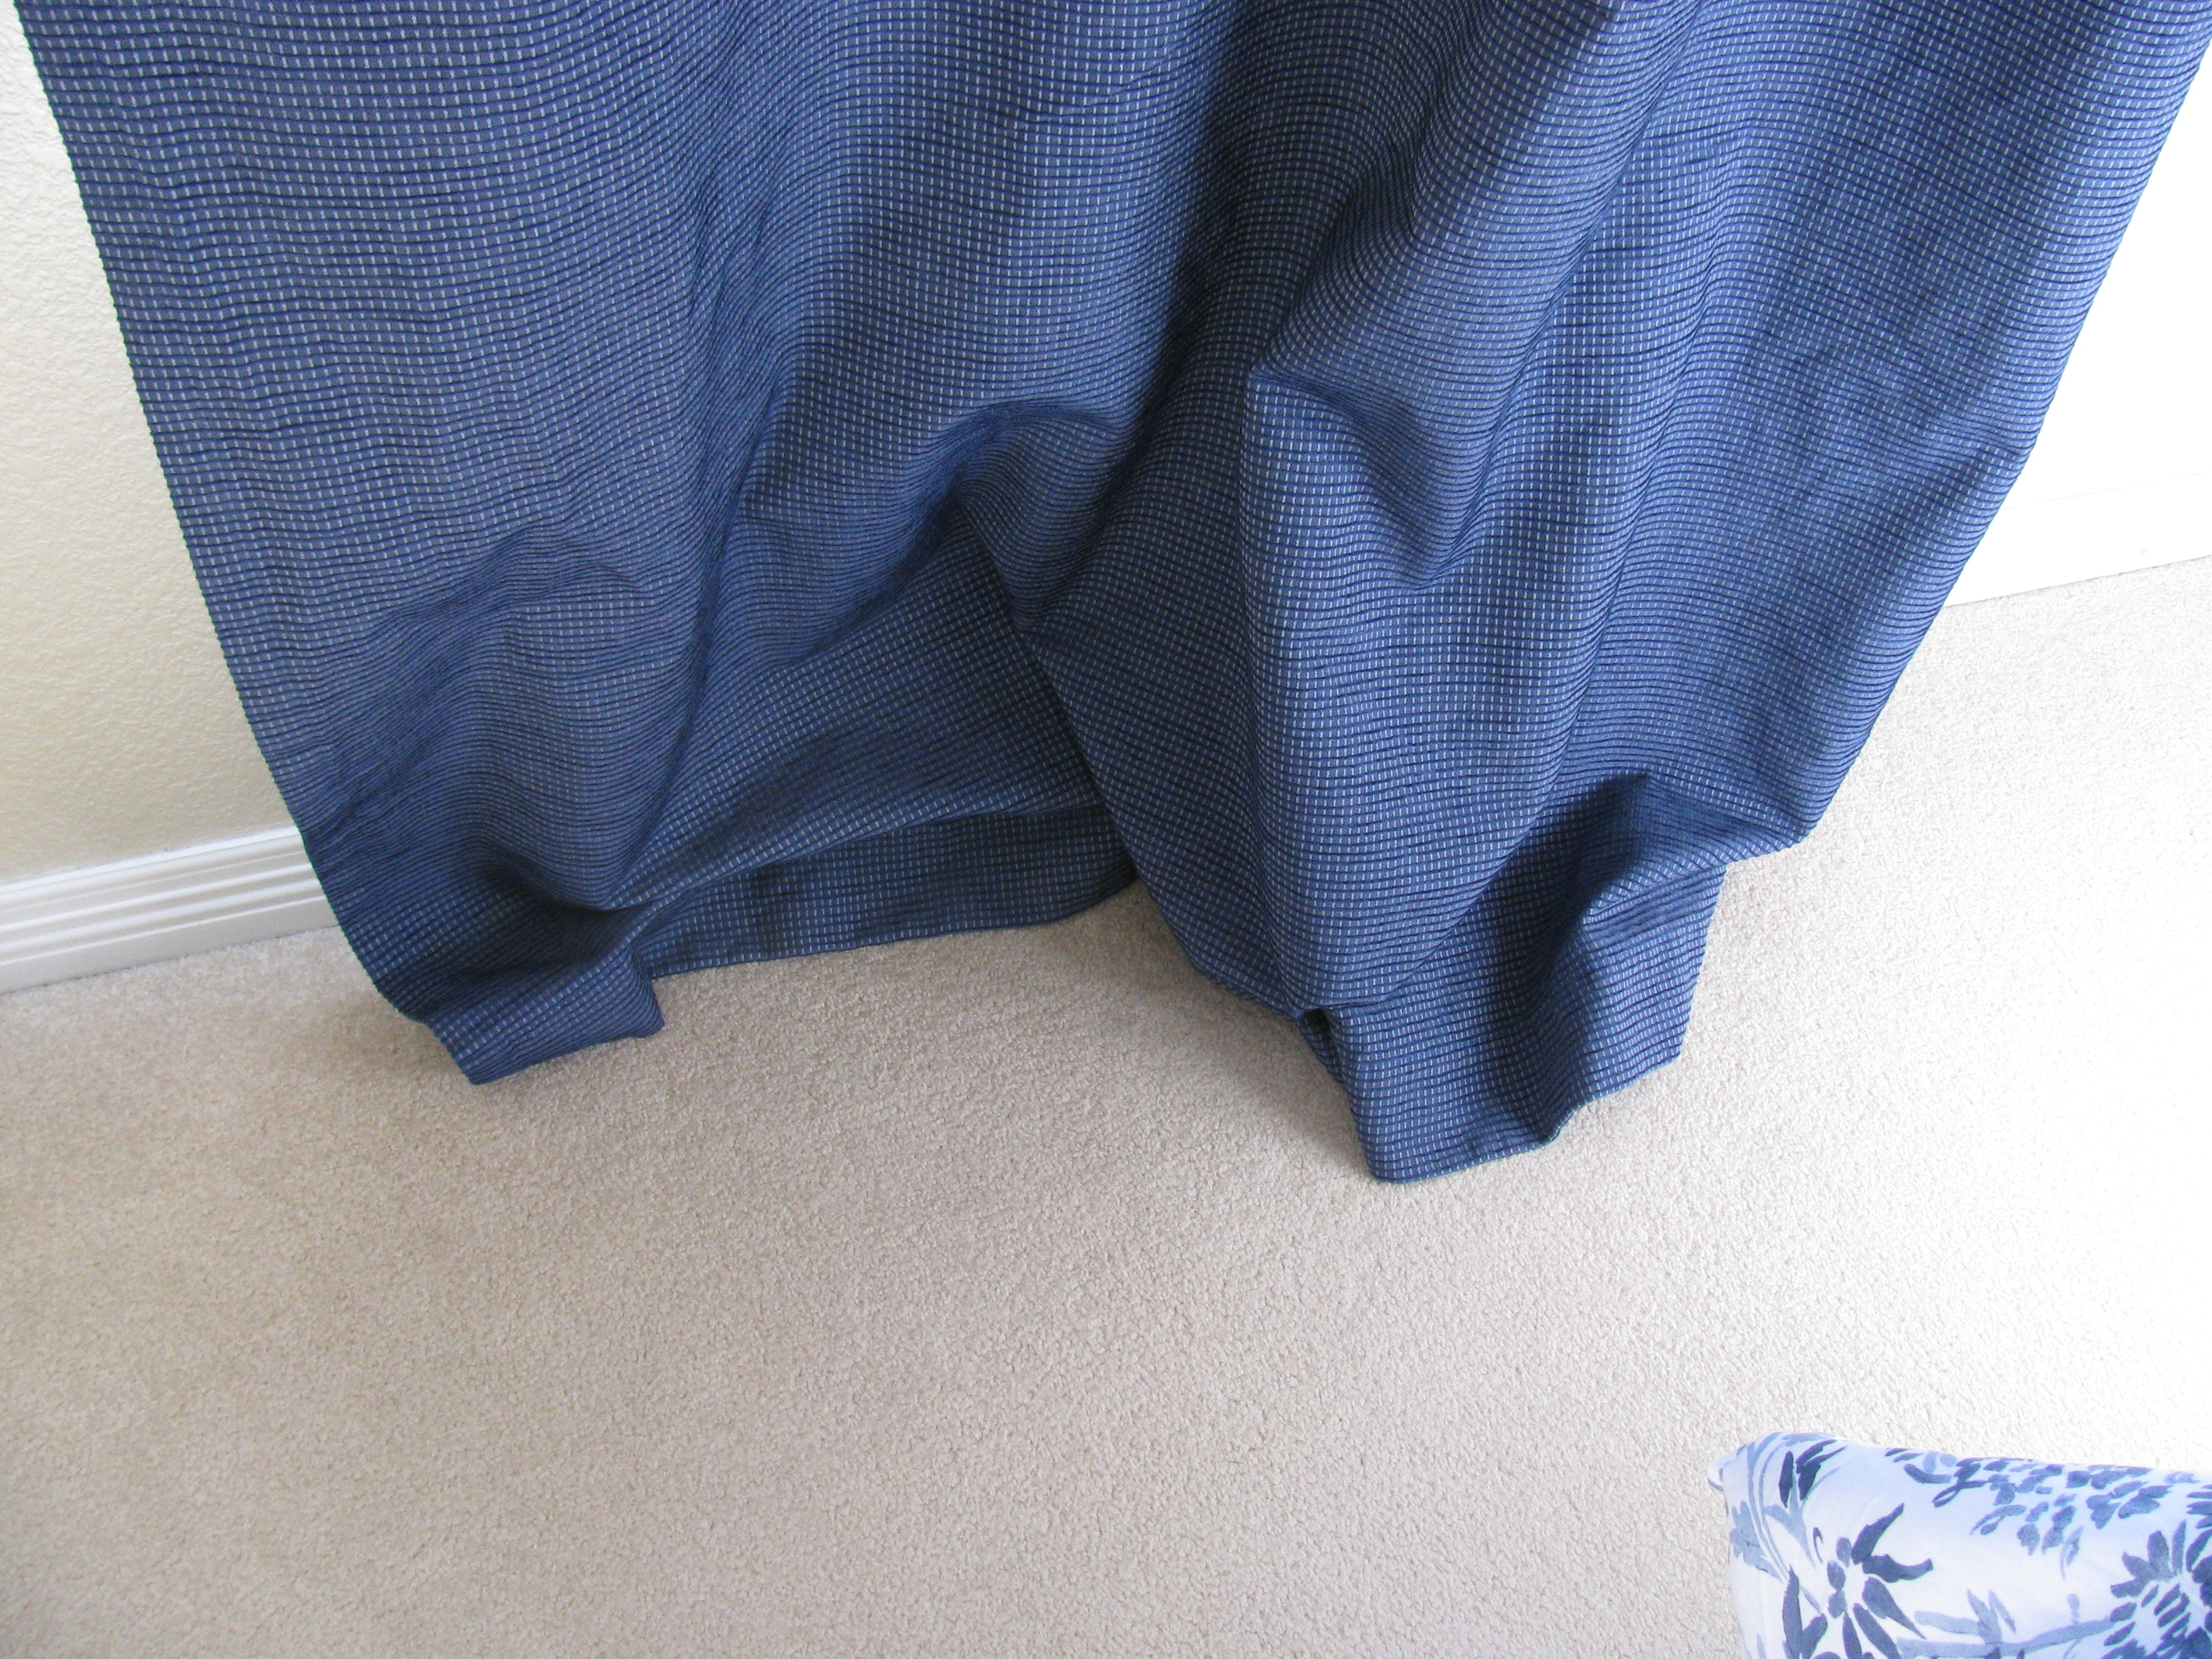
Here’s the length after:

I know there are other ways to line and hem drapes, but this one works the fastest for me.
Enjoy your project!

Thanks so much! Yes, I’ve also seen other methods, but I like yours best!
Thanks Brunella!
Thank you so much for everything you have shared here. I think I may have almost read most of your blog over the last few days. I have found your alterations posts very informative and they will come in handy for my new job in a bridal shop that I will be starting this week.
Oh, thank you! I’m so glad my website has helped you get ready for your new job! I wish you the best in your new endeavor. Let me know how you like it.
I just found your blog and wanted to say it is great! I have been sewing for my kids for years and making small alterations, hems and such, but your blog has given me the confidence to tackle harder things, like completely transforming a pair of black pants for my daughter! Thanks!
Great to hear this. Glad it has helped you!