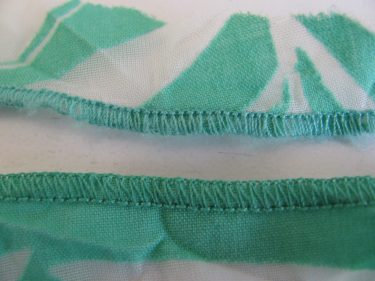
This is what a serged hem looks like up close:
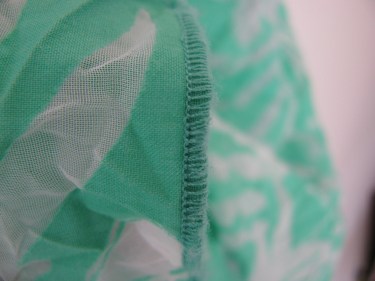
Maybe you have a dress, skirt, shirt or even a scarf that really needs this type of hem.
You can duplicate this look with your serger (and I’ll give some pointers for how to do this on your sewing machine at the end of this post).
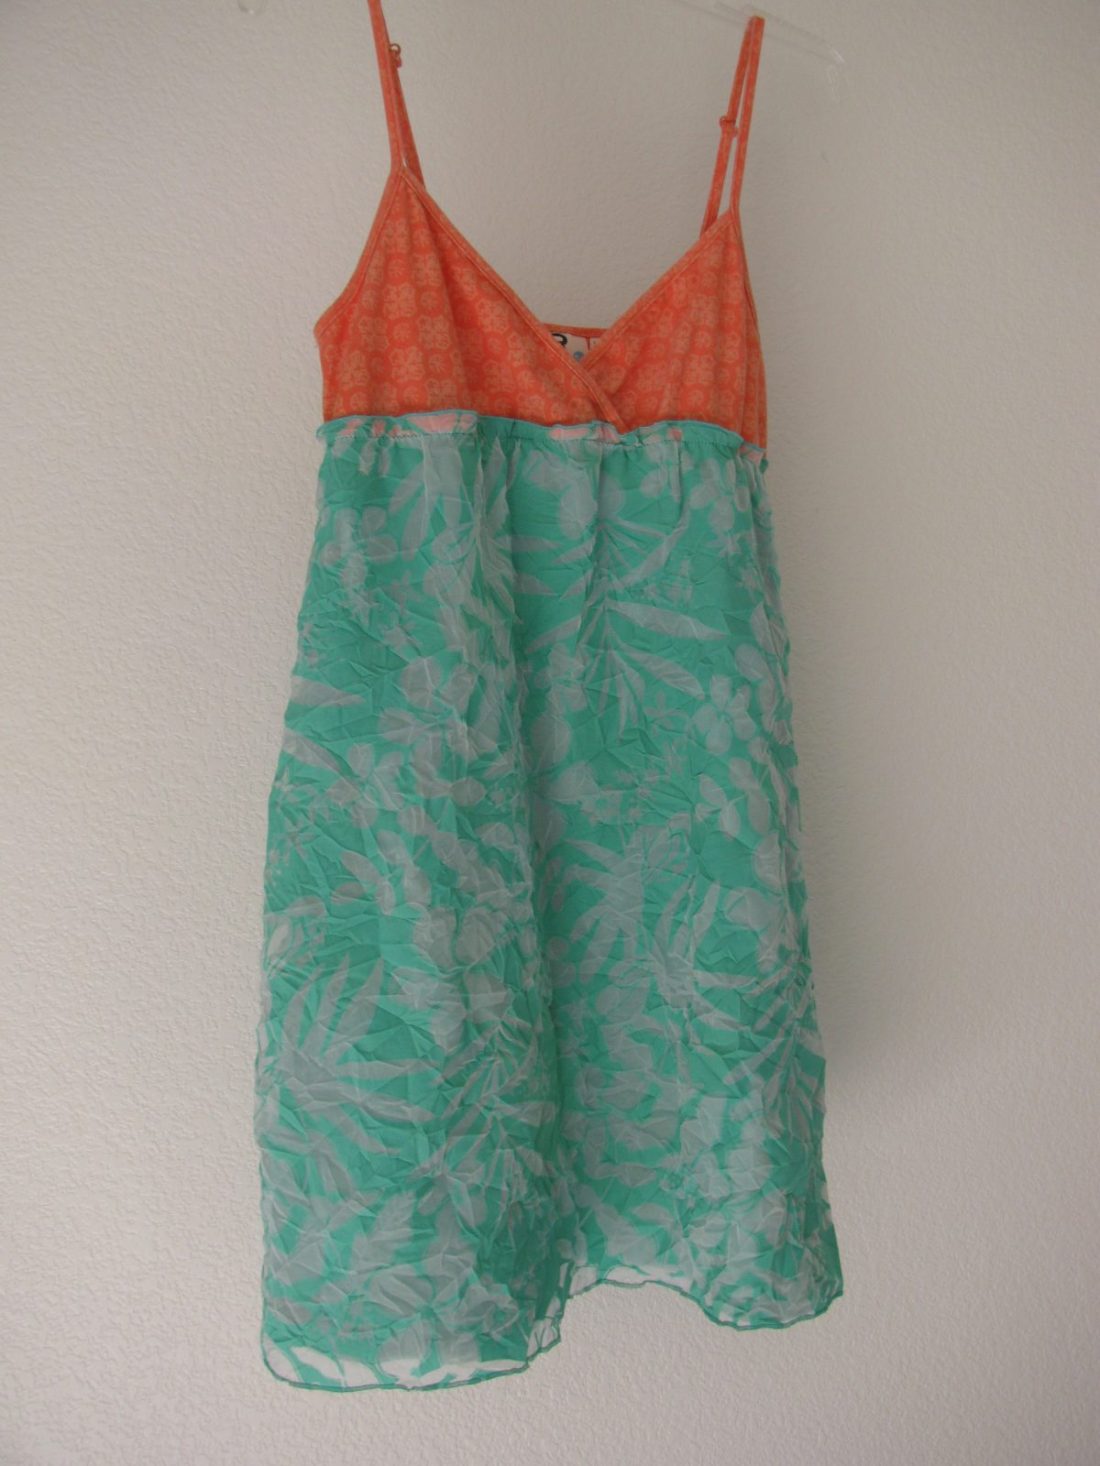
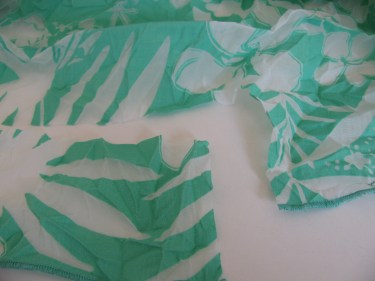
This is a dress that belongs to a 16 year old customer:
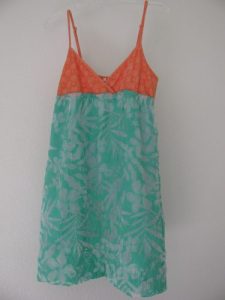
Her mom tried to duplicate the hem with her new sewing machine, but found that none of the stitches that come with the machine were close to what she wanted.
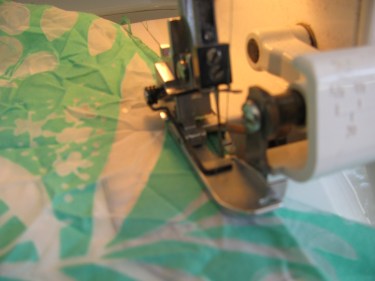
Here’s two of the stitches she tried. Both stitches are on the top row of stitching and they come from the embroidery selection on her machine. The stitching on the edge of the fabric was what came with the dress and that’s what she was trying to duplicate.

She knew I had a serger and asked if I would hem it with that.
It’s an easy process.
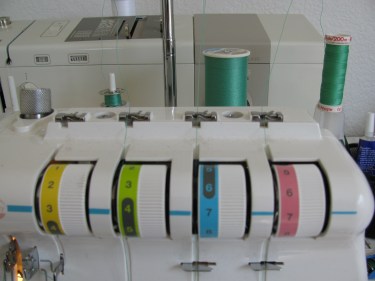
First look at the manual that came with your serger. Since my serger is about 9 years old, I don’t have the up to date abilities that yours probably has.
On mine, I take out the left needle, which leaves only the right needle for this process. Your serger should be able to do this stitch.
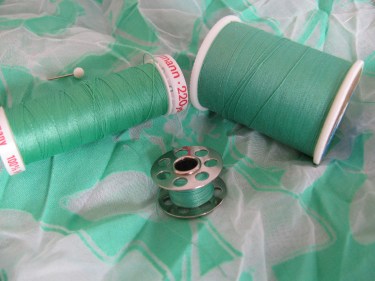
Since I only need one needle and two loopers, that means I only need three spools of thread.
My customer provided one of the spools. I had one other that matched really well. But that meant I only had two spools and I needed three.
Tip: Because I didn’t have 3 spools of thread and I didn’t have time to run to the store, I wound some thread onto an empty bobbin!
(You can do that same thing if you need to use a double needle a project as well. Saves lots of time!)
By the way, I don’t own every color ever made in serger thread. Partly because it would be expensive to do so and partly because there are some colors I would only use once and that would be a waste. But, I do have alot of regular thread and even if I have to use three that don’t match, they will look just great if they are “close enough” in color.
So, even though you hear it is a “no no” to use regular thread when serging, I do.
This is a quick hem and it’s not like I will be serging for months straight with the regular thread.
Back to the serger. I also switch the throat plate to one that is made for the serged edge. Some people may even call it a rolled edge.
The tensions need to be drastically changed. On mine, I move the dials (reading them left to right) 4 -7 -7. (Disregard the number 3 in the photo at the far left. That is the number that correlates with the left needle. Since we took the left needle out for this hem, you can leave the dial wherever you want. It won’t affect the outcome.)
To see how I figured out where my tension dials should be set, read this post on Sergers…Do You Need One?
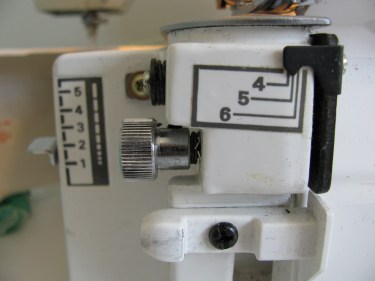
For this type of hem, you’ll need to move the stitches closer together (stitch length) and narrower (stitch width). On my serger, the stitch length is the lever on the left of the photo below and the stitch width is on the right.
You might want to practice with your serger to make sure the stitch looks just how you like it. I do this every time because each fabric can act differently in my serger.
Once you’ve got your stitch length and your stitch width set, I move to the ironing board.
Of course, you can do the ironing work first, before you set up the serger. There’s no rule as to which should come first.
My customer had already pinned the dress where it needed to be hemmed.
So, I pressed on that line all around the skirt.

Since this is “bubbly” fabric, I just pressed on the very edge so that it wouldn’t lose the “bubbliness” of the fabric. It would not look good to have some of the skirt be bubbly and the rest flat!
Once I pressed the hemline, I began by cutting off a small swatch area to practice my tension on.
Even though I think the tension dials should be set at 4, 7, and 7, I want to make sure of this before I begin stitching. If I don’t, there’s no going back. If I make a mistake, I’ll just have to go around the hem again and the next time it will have to be shorter. So, I want to eliminate as much possibility for error as I can.
So, begin stitching on the scrap of fabric. Make your adjustments if you need to.
Sometimes, with this light and airy type fabric, the fabric may tear away at the needle on the left side of the stitching. In that case, reset the stitch width and make your stitches wider than they are now.
You may also need to adjust your differential feed. This keeps the fabric from getting either too bunched up or too wavy looking. You want it to lie flat.
Begin serging the scrap taking all of these things into consideration.
When you are pretty confident that you have the stitches just how you like them, then you can work on the garment itself.
This photo shows the original hem on the top piece and my serging on the bottom piece. Once your practice piece meets your approval, you can move to the garment.
Stitch along the foldline you made with the iron.
Begin stitching right on that fold. In other words, feed the fabric through the serger by keeping the knife of the serger on the fold line. That way, as you serge, it will cut off the fabric at just the right spot for the hem.
Continue serging all the way around the hem.
When you finish the hem, serge off of the edge of the fabric for about 6 inches. Cut off the thread “tail” about 3 inches from the fabric.
Thread this serger “tail” onto a big eyed needle (I like to use a plastic needle that is used for knitting) and “stitch” the tail back into the serged hem edge, thereby hiding it. Clip your threads off.
Ok, now if you’re using a sewing machine, you can duplicate this hem quite satisfactorily.

Just use the width of zig zag stitch you prefer. Then, tighten up the stitch length to zero (or just a smigde higher than zero if your machine doesn’t move forward and just keeps stitching over the same area.)
This will give you a tight satin stitch. It may use alot of thread, so start with a full bobbin.
With this technique, you’ll get the same effect.
If your machine is a newer model, it may have a “serge” stitch on it. Try that stitch. You may like it better.
Wasn’t this easy?
The serger is an amazing invention. If you don’t have one, see if you can borrow one from a friend or try them out at your local dealer and find which one suits you the best.

Hello,
My name is David and I hope you can help with some advice about machines please. I want to make men’s briefs with a stretch fabric and am assuming that I can do this with an Overlocker/ Coverstitch machine.
I’m not sure if the coverstitch can be opened out flat, for the centre front seam or if I should be looking at a Flatlock machine and also using this machine to flatlock the elastic to the legs and waist.
Help pppp Pleaseeeee, Cheers, David
Hi David,
Great question. I am certainly no expert on the cover stitch as my serger doesn’t have that capability. Let me give you a few things that might help and then I’ll tell you what I would do based on my experience making swimwear, which is very similar to making briefs.
Here is a definition from the Janome Sewing Machine website that might help (maybe you already know this stuff):
Each of the topics that you listed are accomplished using a serger. Serging is the act of “sewing” using a serger. Overlocking or Overlock refers to a 4 thread serge stitch. Flatlock is a technique in which two pieces of fabric are serged together and then pulled apart slightly to achieve a flat stitch which connects the two pieces of fabric. Coverstitch is the stitch that you see on ready to wear garments at hem lines.
Secondly, this article explains the flatlock technique:
Click to access CT-MMB-198.pdf
Ok, now from my own experience. I have used a basic sewing machine to stitch that center front seam. Then, I do a double topstitch on the right side of the briefs to reinforce the seam. (I’m not sure if you have experience sewing or not, so please tell me to better explain anything you’re not familiar with) As for the elastic, I have had good luck serging the edge of the waist to keep the fabric from fraying (not sure if you’d need to on the material you are talking about or not) and then I fold under the edge of the waist line the same amount as the elastic is wide. In other words, if the elastic is 1″ wide, I fold under one inch of fabric. To figure out how much elastic to cut, measure your waist. Take that number and subtract about 4 inches. (Most books will tell you to use the waist measurement plus 2-4″, but that is way too much elastic. If you do that, you’ll have a very loose fitting brief). So, let’s say your waist measurement is 34″. I cut a piece of elastic that is 30″. Then, make a circle out of that elastic and stitch the ends together, overlapping the ends about a half inch. Divide your elastic into fourths and mark the fourths with pins and divide your briefs into fourths and mark those quadrants with pins. Match the corresponding pins on the briefs to those on the elastic. The elastic should be smaller in cirumference than the waist itself. As you sew, pull the elastic in that quadrant until it lays flat and then stitch that quadrant while holding the stretched elastic as you sew. Repeat until you have all 4 quadrants sewn. (You can also put the elastic inside the folded over edge of the waist. That would conceal the elastic and you wouldn’t see it. It might also make it softer where it comes in contact with the skin).
Does this make sense? If so, follow those same instructions for each leg. If not, let me know where I can explain it better.
Let me ask those questions again… can you put in the elastic with a serger? I think so, as long as you move the top knife out of the way of your serging so it doesn’t cut off the elastic. Can you do a flatlock stitch…I’m not sure that would work. because you have to pull the two pieces of fabric apart. Can you do a cover stitch? I think it would work for the hem of the legs, but then you’d have to put the elastic in, so I think my method of putting elastic in might work better and it happens all in one step.
Remember, the serger makes a loopy seam and the sewing machine does a straight running stitch. You may have already thought about that and what you want your stitches to look like.
Does that help? Have I answered your questions? If not, ask me again. Send photos if you need to. Your question makes me think that I should put these instructions on my blog along with pictures so you can see each step that I explained. I’m a visual learner and I think most people are. Others may want to learn this same technique.
Thanks, David. I am impressed that you are taking on this project. It is not hard, but most people don’t want to try it because they think it is too intimidating, but once you know the technique, it isn’t bad.
Getting the pattern right before you cut it out is half the battle.
I wish you success and let me know how it goes or if I can be of further help.
Linda